Showing posts with label Indian pickles. Show all posts

Thursday, March 16, 2017

Make These Pickled Carrots Today, Enjoy Them Tomorrow...Plus, No Special Equipment Needed!

   
   It's starting to get to planting time here in Sonoma. We've already gotten the go ahead to put in the potatoes and we're now planning the rest of this years crop. Meanwhile, the TV pilot is all turned in, we're busily writing..and I'm working with the CocoaPlanet people on the Spring menu for their Modern French Cafe and Tasting Room.


   In looking for some tasty French-style nibbles to go on a charcuterie plate or accompany a sandwich, I stumbled across these quick and easy French Pickled Carrots. Now, I love pickles in almost any variety and will pickle nearly anything if you give me half a chance. I love to can, brine jam and jelly.  I also love being able to do this without dragging out all my equipment. And I also love the fact that these pickles are ready to eat the day after you make them...also a plus for those of us who are fans of instant gratification. Pickles that are quick, easy, and don't require a lot of extra tools or a hot water bath? Count me in. The recipe I used here is my tweak of a David Lebovitz recipe so short and sweet, you've got to make these for your Spring and Summer parties.

French Pickled Carrots


Here's What You Need:
1 lb of carrots. (I used rainbow Carrots because I figured they would look gorgeous in a bottle)
1/4 cup of caster sugar
1 and 1/4 cup water
1 cup apple cider vinegar
2 large shallots lightly crushed
1 and 1/2 tsp fennel seed
3 radishes
1 bay leaf
1 and 1/2 Tbs kosher salt
Extra water for par boiling carrots.
1 pint jar and lid

Here's What To Do:
Peel the carrots.


Cut them into sticks that will fit into a pint jar.


Prep the rest of your ingredients. This helps get things done faster.
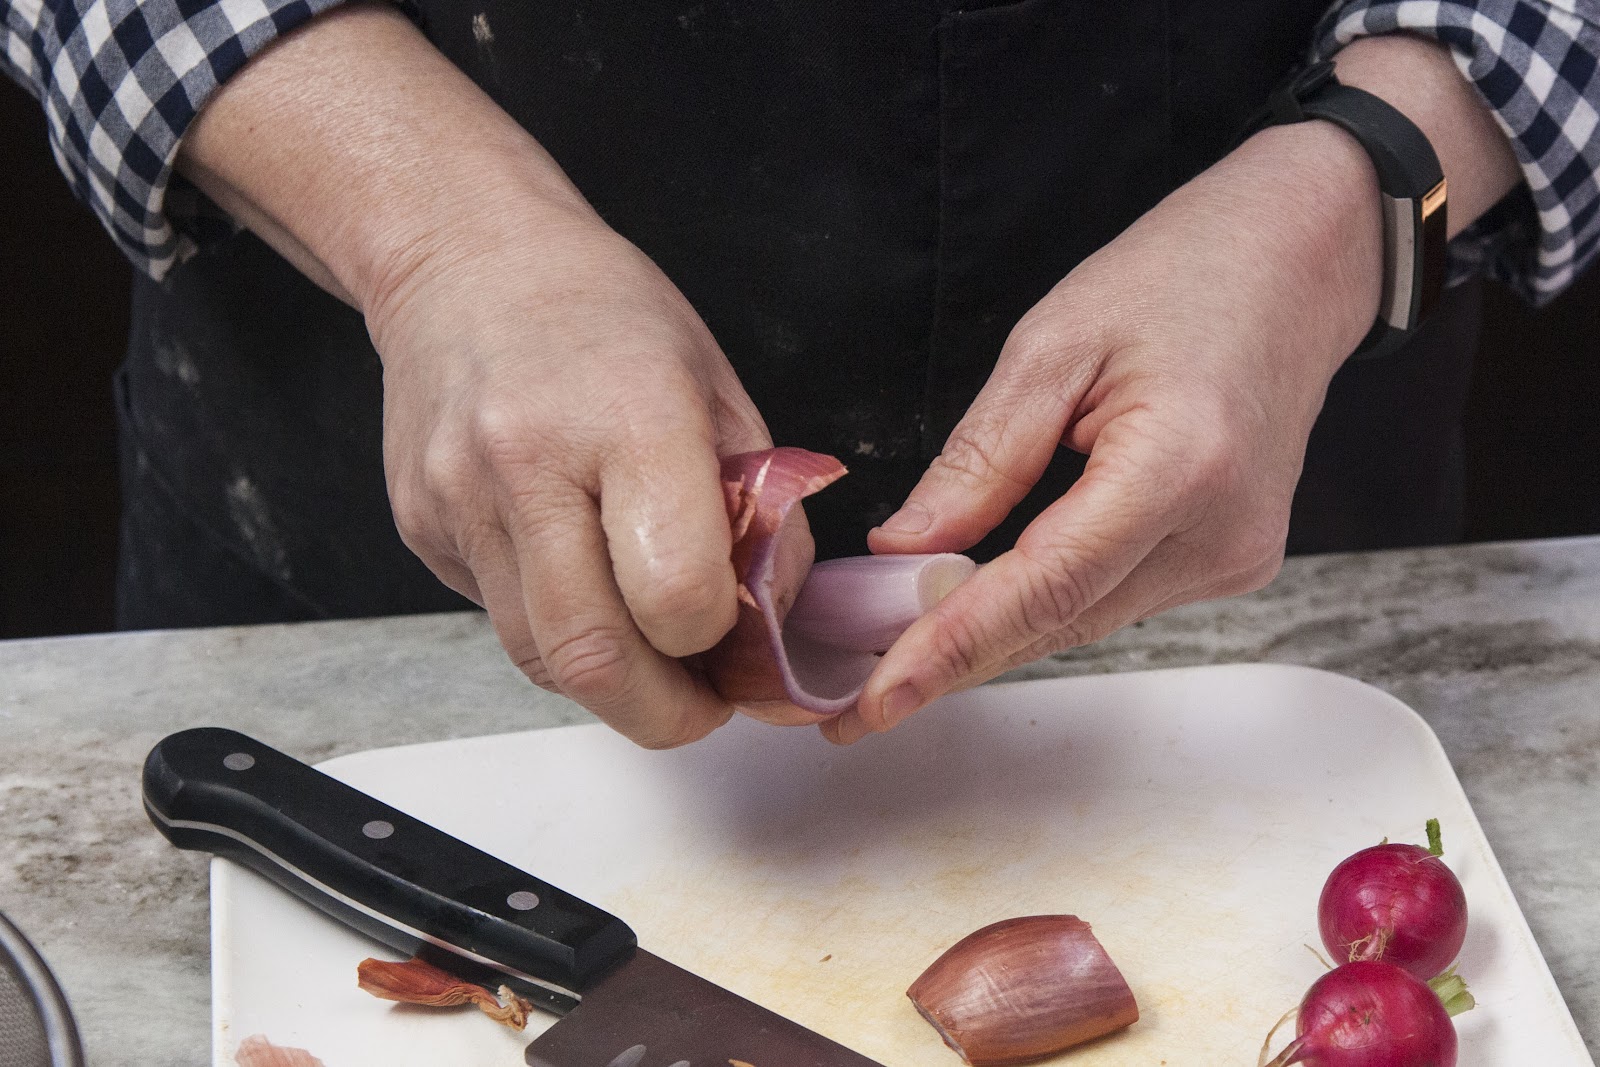
Peel the shallots and slice the radishes into thick pieces.


Get your fennel seeds ready.


Bring a medium sized pot of lightly salted water to a boil.
Toss int he carrots and boil them for 1 minute.


After 1 minute pour everything in the pot through a strainer basket...


...and run cold water over the carrots to stop the cooking process.


Take the now empty pot and add in the water and cider vinegar...


...salt and sugar...


...fennel seeds, shallots,  and bay leaf.


Toss the uncooked radishes in with the cooling carrots and set them aside.


Bring everything in the pot to a boil again, and when it is boiling turn down the heat and let it simmer for about two minutes. When that's done set it aside.
Meanwhile pack the carrots, and radishes into a cooled and CLEAN pint jar.


Fish out the bay leaf and place it in the jar.
Pour the liquid over everything in the pint jar.


Put the lid on it and place the jar in the fridge when it's cooled a bit.
Let them sit for about 24 hours and then enjoy.
These will keep in the fridge for up to 4 weeks, but they probably won't last that long as they're really, really tasty.


So, there you go, French, quick and easy.
If you like pickles and want to try some Indian Style Pickled Carrots I got this. Once again, no special equipment unless you count the sun as special equipment.


And these Indian Pickled Peppers


So enjoy the spring sunshine and don't forget to Get Pickling!  Coming up next more fun with Spring Vegetables follow along on Twitter @kathygori

Thursday, October 6, 2011

I Pick A Pack of Indian Pickled Peppers


   As I've mentioned before, we are deep in the finishing phases of our latest script. After being screenwriters for years we're obviously used to this, but as a food blogger for only the last two years, I'm not. You see, some strange stuff goes on around here when we're in finishing mode. We spend longer hours in our office. I don't cook any big fancy dinners for 8. I do what anyone else under work pressure does, I rely on easy to fix old standby meals, things that are easy to make ahead and keep on hand. I also get bored with that pretty damn fast and go looking around to see what kind of food trouble I can get into. I only have a couple of rules for this adventuring. It has to be easy, I have to have the stuff on hand, it has to seem like fun and it must be something I've never tried before.
  This is the time when I want to make marshmallows or grow my own mushrooms, or mix up cupcakes in a coffee mug and bake them in the microwave. Like this.


   And yeah, it tasted about as good as it looks. You see what I mean. I am looking for a challenge and I want it to turn out a hell of a lot better than that cupcake in a coffee mug thingy. Whatever project I undertake has to take minimum effort (in other words, easy) and have a maximum success rate (it'd better taste good when I'm done). I was stuck and puzzled and then I stumbled across a new post from my friend Prerna at Indian Simmer. She'd written a delightfully intriguing post about pickling peppers. I was hooked. She had me at pickle.
   I am crazy for anything I can jar, salt, pickle, cure or preserve. The idea of making traditional Indian pickled peppers was exactly the experiment I was looking for. It met all my criteria. It was easy, doable and I had all the stuff. Well almost all the stuff. As it turned out I was missing the pickle part.
  After a flurry or tweets where I sent Prerna a few Instagrams of  the wrong sort of peppers to pickle, she offered to send me some of the right sort of pickles. How could I refuse such generosity?!  Sure enough a few days later a lovely bag of what turned out to be Fresno Peppers arrived at my door. I took them out of their bag and as she instructed, cut the heads off them and set them out doors in the Sonoma heat for the day to dry out a wrinkle a bit.

 I was all ready to make pickled peppers, and if you can get your hands on some Fresno peppers you can too.


Indian Pickled Peppers


Here's what to do:
Cut the tops off of 45 or 50 Fresno Peppers.
Set them outside in the sun  for 5 hrs or in a warm 170 degree oven to dry out and wrinkle a bit.
Wash out the jar or jars you will be using for canning the peppers. Let them air dry.
Remove the seeds from the interior. You may want to wear gloves while doing this as these peppers are hot stuff.

 When all the peppers are cleaned out, set them aside and prepare the spice filling.


In a skillet dry roast :
 1 tsp of cumin seeds
 2 tsp of fenugreek seeds
 1 tsp of nigella seeds
Roast them over a medium heat until they become fragrant. Take the spices off the heat and let them cool.

Place the dry, roasted spices in a spice grinder or processor along with:
 4 Tbs of fennel seeds
 4 Tbs of coriander seeds
 4 Tbs of mustard seeds
 4 Tbs of amchur powder (dried mango powder)
11 and 1/2 Tbs of Kosher salt

Grind all the spices together in a spice grinder or blender along with 1/2 cup of mustard oil.
Mix everything together until you have a thick paste.
Stuff the paste into the empty chili peppers.

When all the chilies are ready, set them aside.

Place the stuffed peppers into the empty clean dry jars.

Pour 1/2 cup of mustard oil over and around the chilies in the jar.

Fill the jar.
 Make it airtight.

   Rotate the jar everyday to move the oil around the peppers. Store the jar in a cool dry place for at least a month before enjoying the peppers. Prerna told me that these peppers are going to be hot, hot, hot after a month of curing. I can't wait to try them. Easy, fast and hot. Who could ask for more?
   Coming up next , Can I get  Indian fries with that? Yes I can. Follow along on Twitter @kathygori  

LinkWithin

Blog Widget by LinkWithin