It tastes like chicken. Isn't that what they say about everything? Alligator = chicken, snake = chicken, Frogs legs = chicken, Rabbit = chicken, Seitan = chicken, Hen-of-the-Woods Mushrooms = chicken, and of course Chicken itself. Now, since I've eaten all of the above ...I'll add another thing that tastes like chicken, Jackfruit!
These are Jackfruit.
They're big, and bumpy, and the only time I've ever seen them out of a can and in the wild is at my local Cambodian market. However, since that's a 50 mile round trip drive for me...this is the jackfruit that's easy to get you want this. This is the stuff I buy, you can find it at most markets and yes, it tastes like chicken.
Open the can, drain and rinse the jackfruit. Shred it with two forks, and the meat separates like chicken or pork. Press the shredded jackfruit between paper towels and get out all the water you can. When it's as dry as you can get it. You're in business, it's Jackfruit time!
So this recipe is pretty simple once you get all your ingredients together. Every time I try a new dish, it takes me a bit longer to put it together, but once I've made it, I know it's going to be pretty easy to get on the table on the regular.
Jackfruit and Sweet Potato Curry
Here's What You Need:
2 cans of Jackfruit, rinsed, drained, shredded and pressed dry
1 large brown onion finely chopped
6 cloves of garlic or shallot finely chopped
2 inch piece of fresh ginger grated
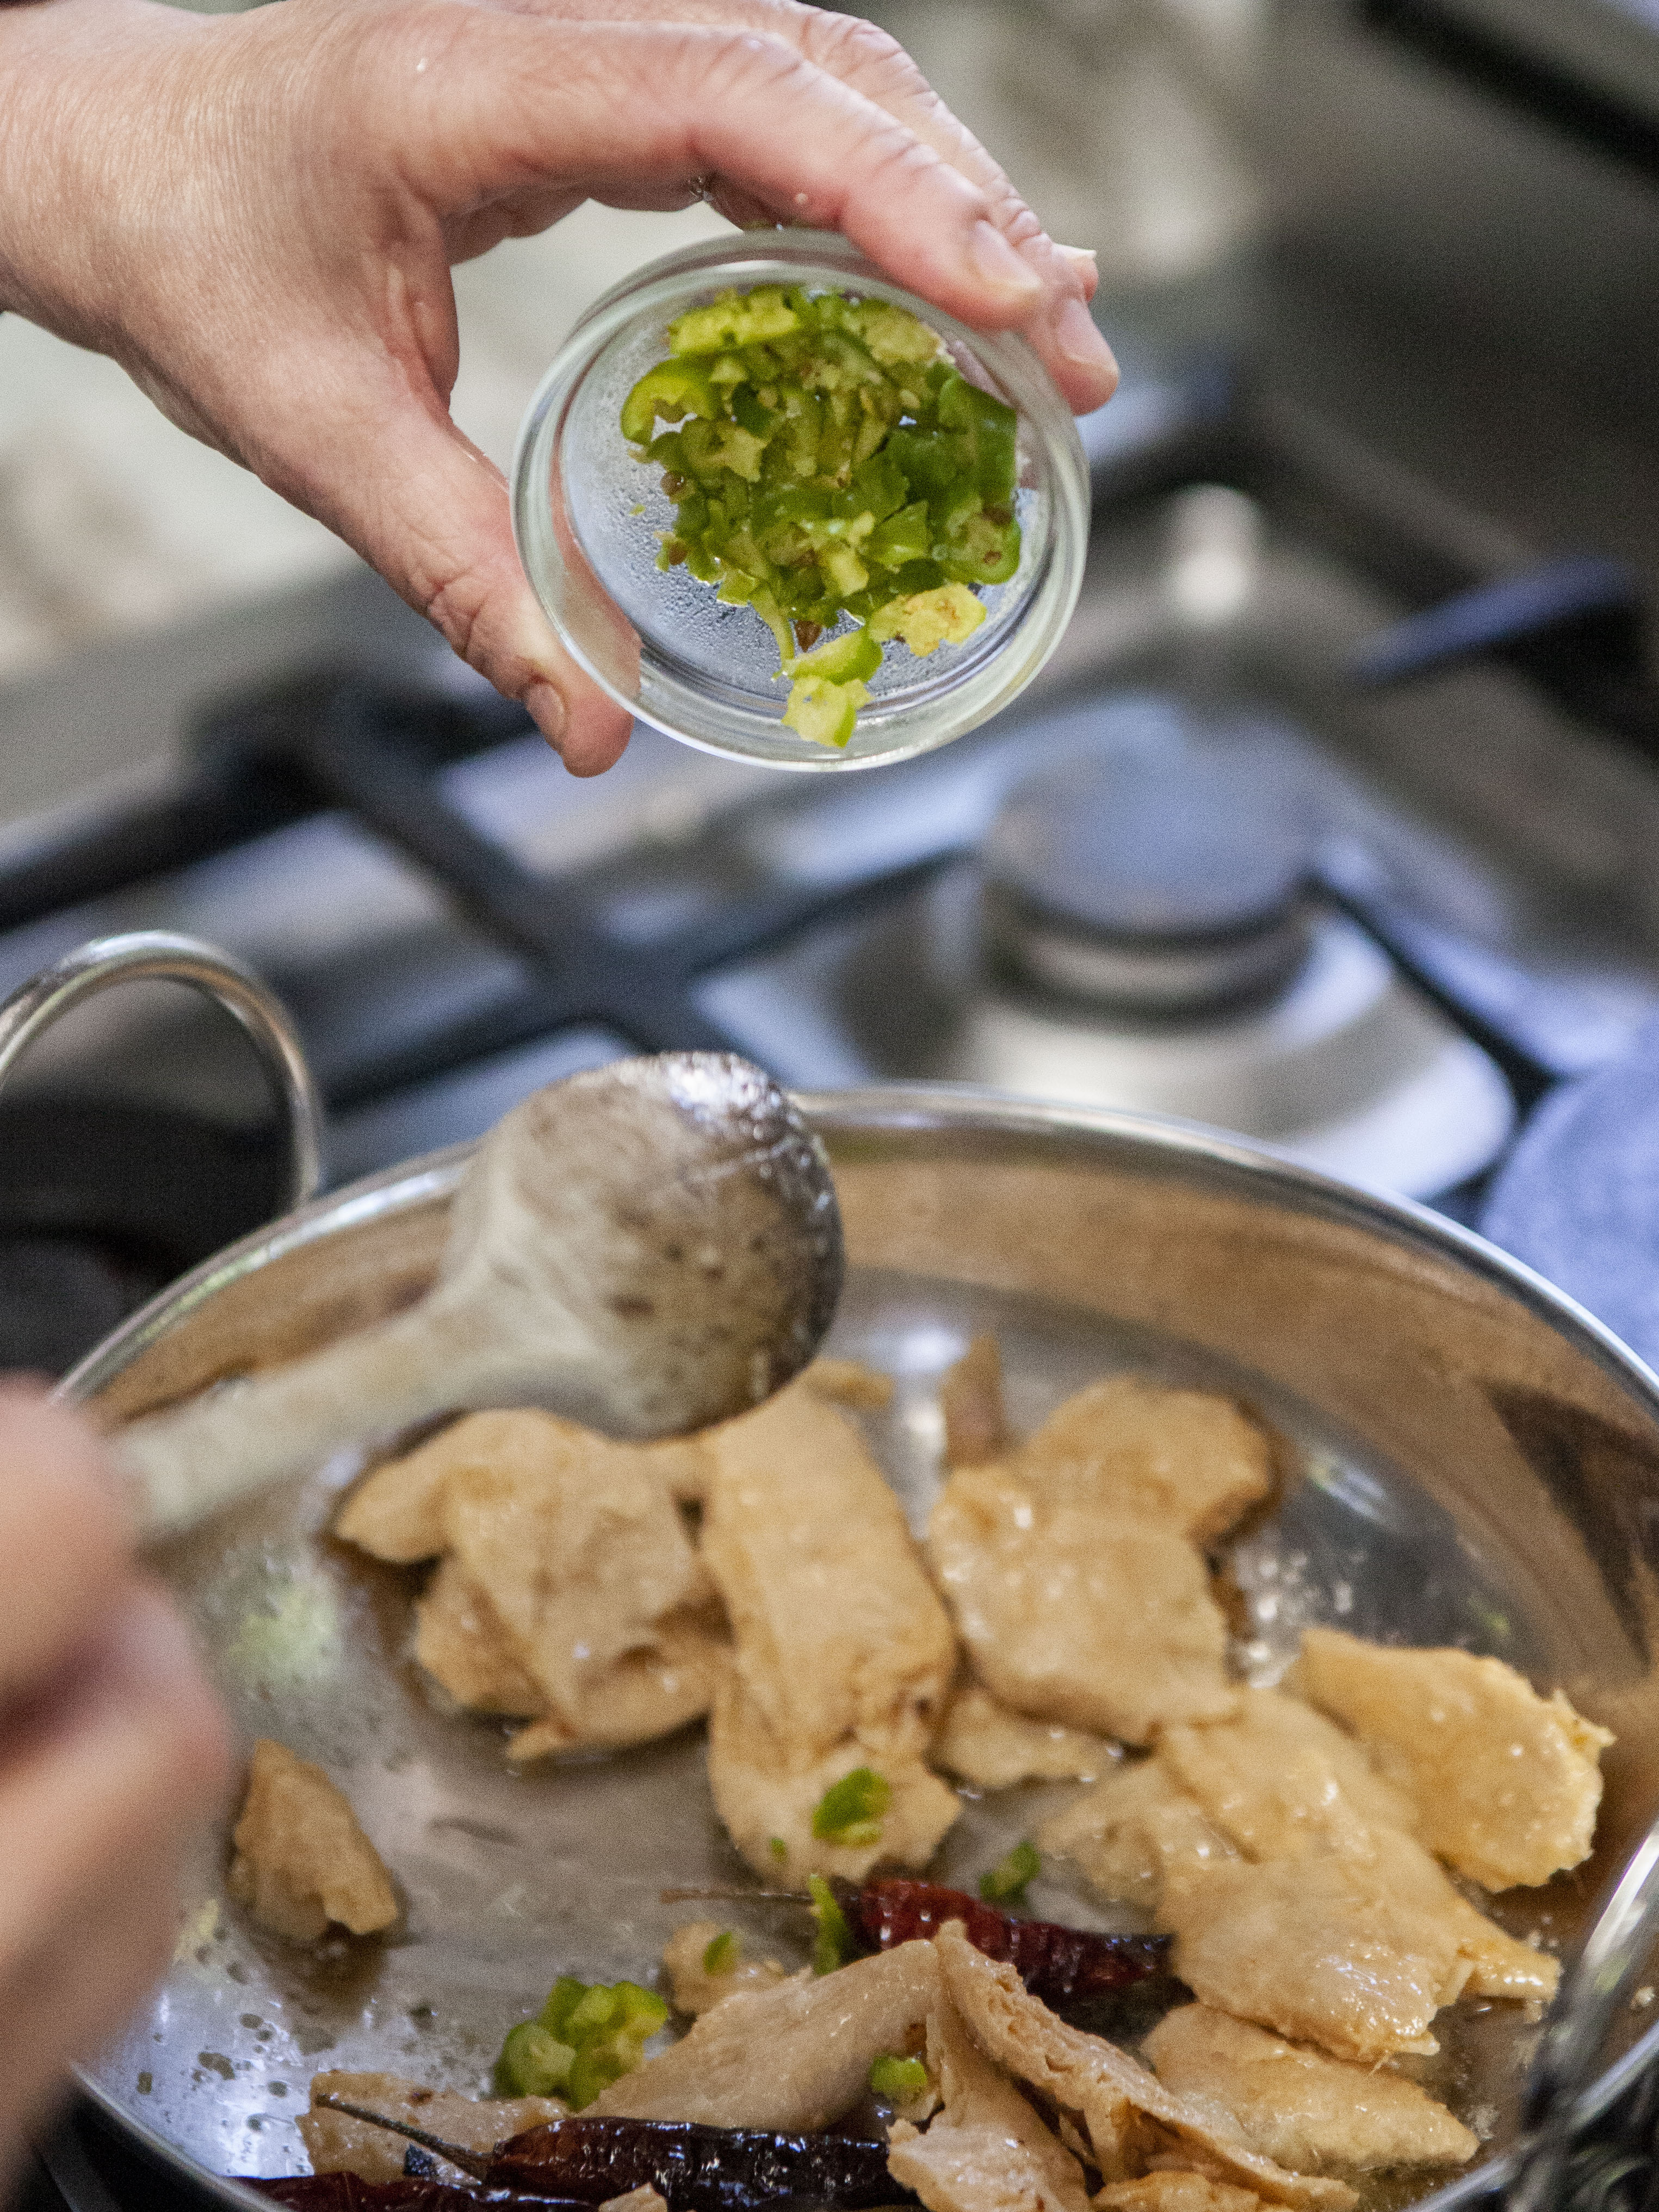
1 serrano chili finely chopped
1 and 1/2 tsps cumin seed
1 and 1/2 tsps. of black mustard seeds
1 Tbs vegetable oil (I use coconut oil)
2 tsp garam masala
1 tsp ground tumeric
1 tsp ground coriander
1 tsp sweet paprika
1 tsp Kashmiri chili (can be approximated by mixing 1/2 tsp paprika with 1/2 tsp cayenne)
6-8 dried curry leaves, or 3-4 fresh ones (if you can't find these there are no substitutes so just omit )
1 and 1/2 tsp salt
1/2 cup water
1 can of full fat coconut milk
3 medium sweet potatoes cut into 1/2 inch pieces
1 can chopped tomatoes drained
1 bag fresh baby spinach
1 Tbs lemon or lime juice
1 cup of chopped fresh cilantro
Here's What To Do:
Heat the oil in a large deep skillet or kadhai.
When the oil is hot toss in the cumin and black mustard seeds.
Fry until the mustard seeds start to pop.
Then, add in the onion. Saute them until they soften.This usually takes about 5 minutes.
Now add the garlic or shallot, serrano chili, and grated ginger. Cook this for about 3 minutes, stir everything around and don't let it burn!!
Now add in all your ground spices, curry leaves, salt, and stir everything around to coat it well, then pour in 1/2 cup of water to deglaze the pan.
Now add the shredded jackfruit...see, it looks like shredded chicken...
...the chopped sweet potatoes...
And cook all of this for another 5 minutes. Stir it around to keep it from burning.
Pour in 1 cup of water,
...then the can of coconut milk...
...and the tomatoes.
Stir everything together well, then bring to a simmer.
When it's simmering, cover it and cook for about 25 minutes. Stir it every once in a while
After 25 minutes the sauce should have evaporated a bit, and thickened slightly. Check to make sure the sweet potatoes are tender and have cooked through.
Now, if you want a thicker curry, take about 1/4 of this curry and puree it using an immersion stick blender, potato masher. This is optional, based on what texture you want. I used my stick blender to thicken it a bit.
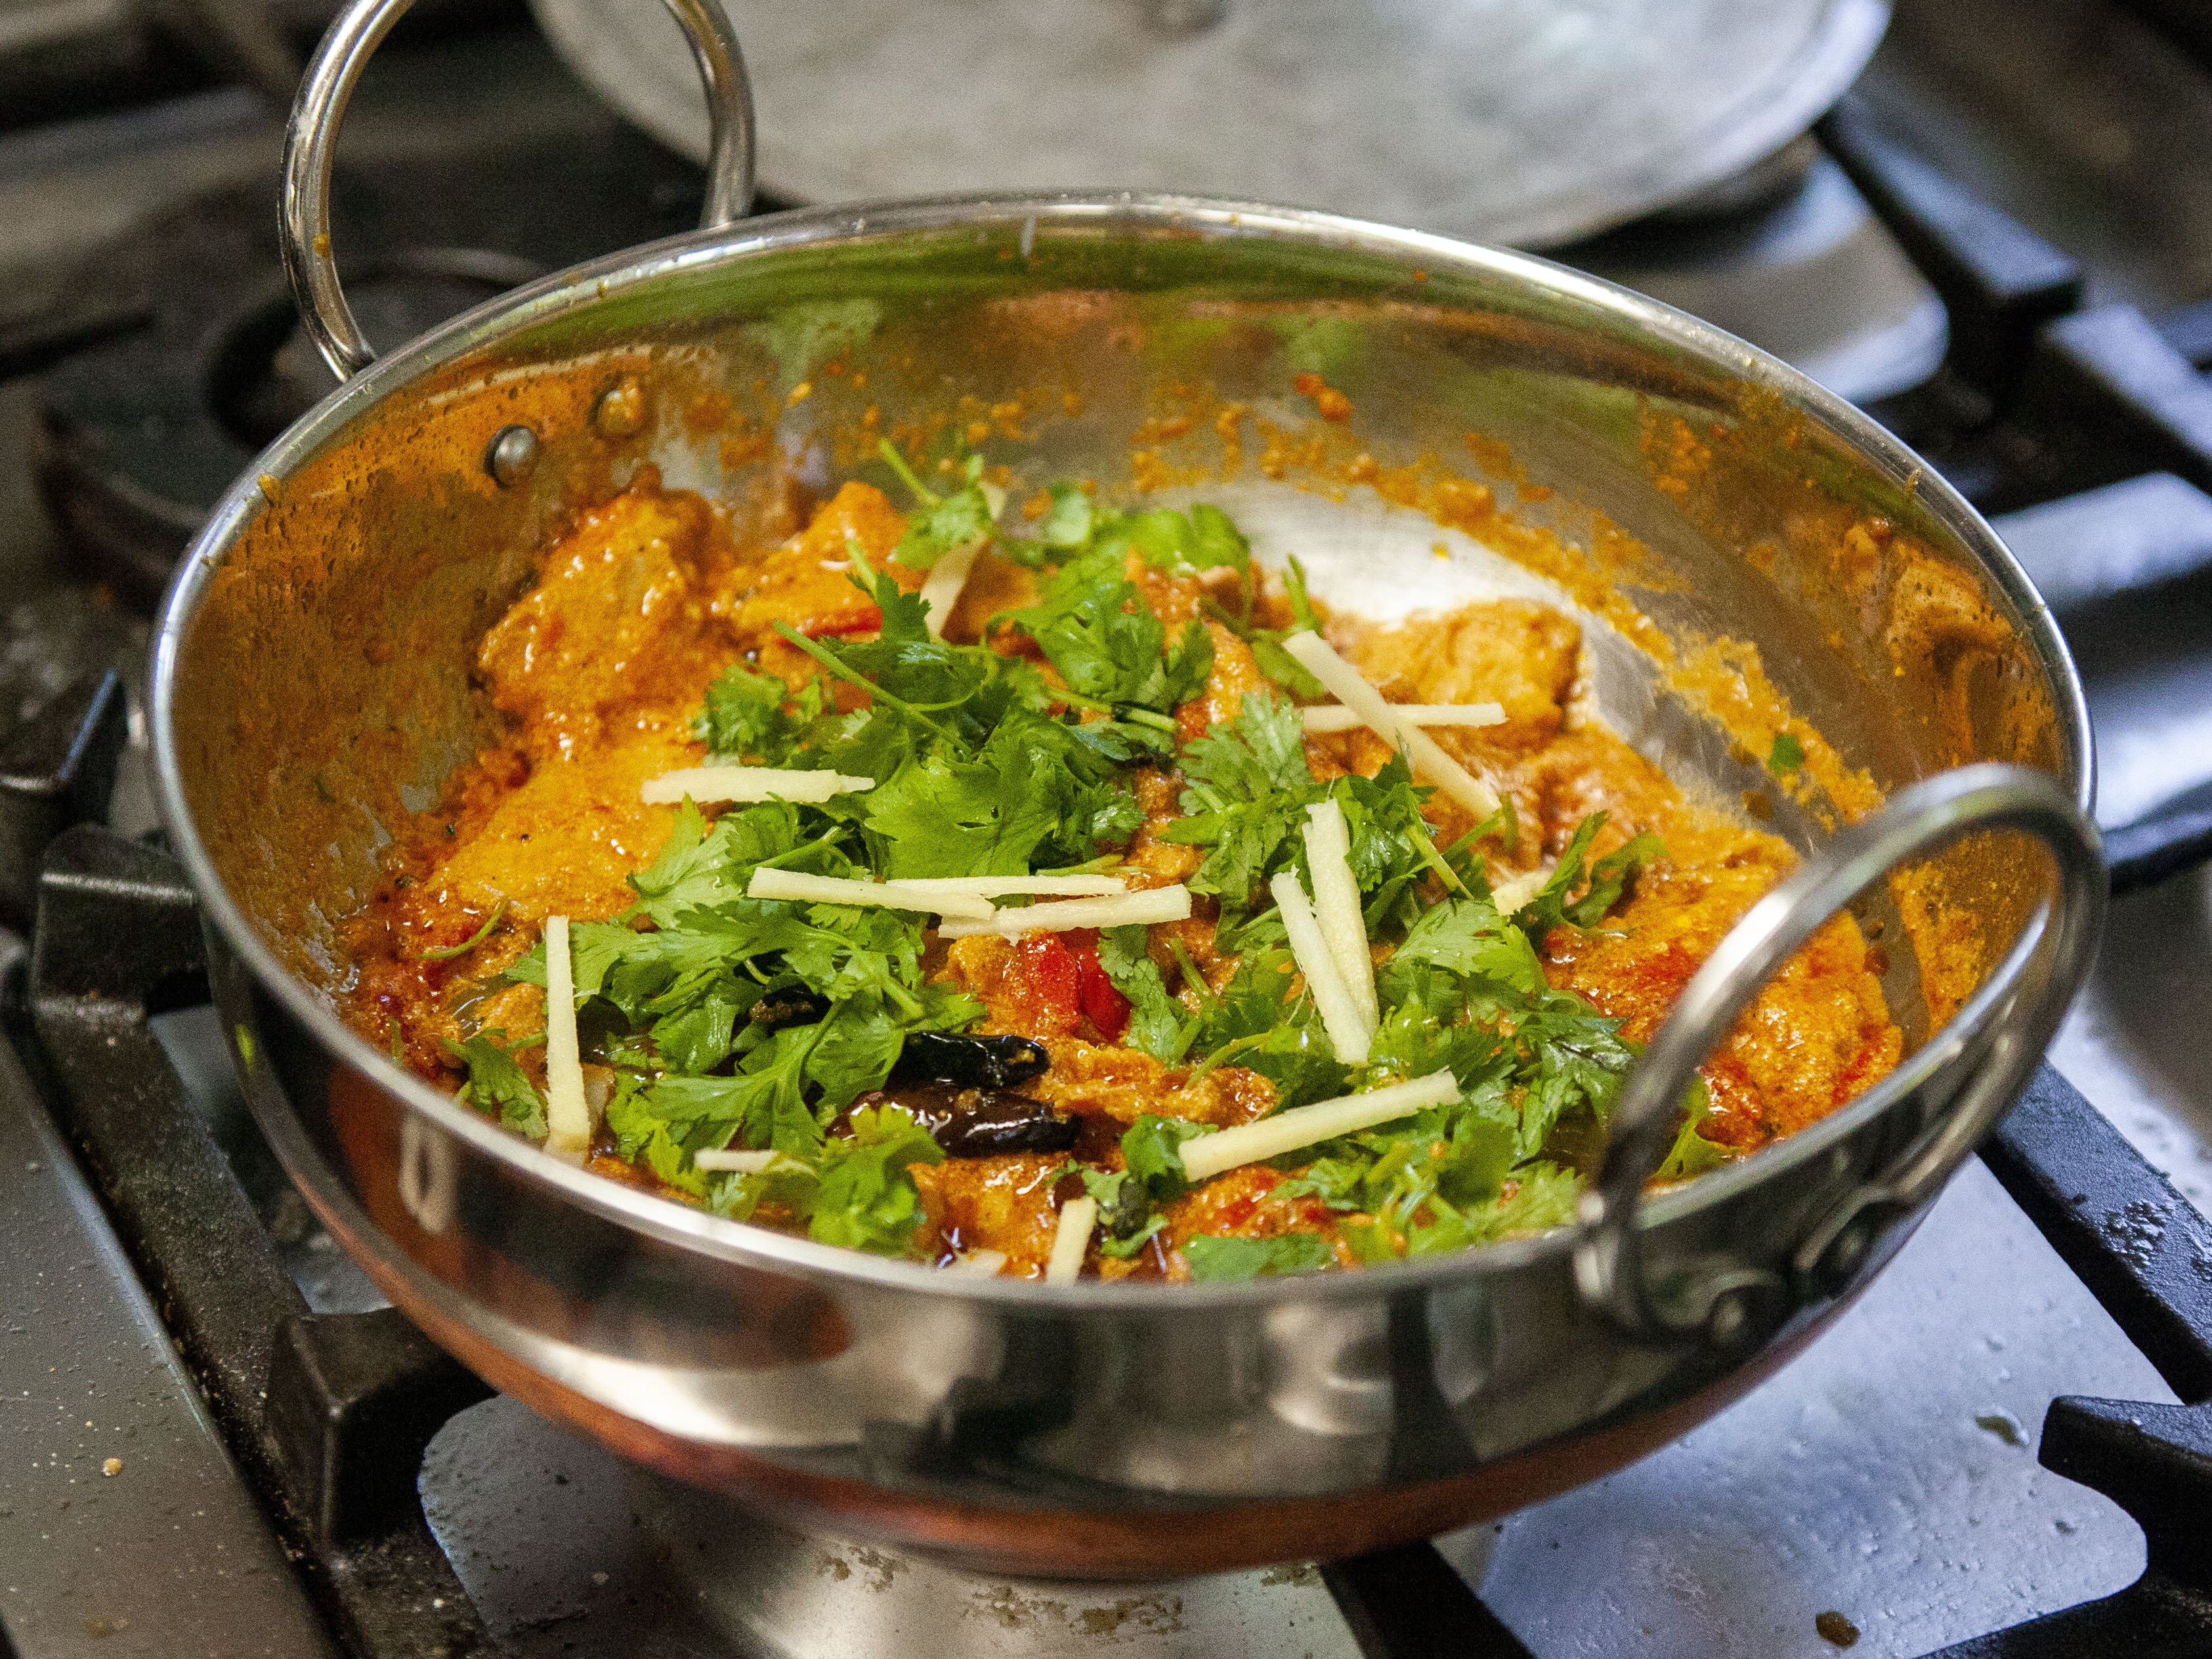
Now add your baby spinach to the curry.
Stir it around until it's wilted and cooked.
Stir in the lemon juice and the cilantro. Check your seasoning with salt and pepper.
You're done!!!!!
Serve it up.
I whipped up a batch of chapatti, or you might serve this with a rice dish
Serve it with a wedge of lime and go to town!!!! This is hot and spicy and whenever cooking with chilies, if you're not used to them be careful. It's easier to add heat than to remove it.
Coming up next a couple of quick and tasty lunch ideas. Follow along on @kathygori


.jpg)


.jpg)