Showing posts with label Holiday desserts. Show all posts

Friday, December 20, 2013

Right Outta The Box, Just in Time For Party Season. Gluten Free Pear Almond Cake

gluten free cake

   For someone who is not gluten intolerant I seem to do a lot of gluten-free cooking and baking. One reason is that Indian food, which is what I'm cooking around here 99% of the time, is a very easy cuisine for gluten free people to eat (not to mention vegans and vegetarians) without any change in recipes.  I also happen to have a lot of friends who are either themselves celiacs, or who have kids with gluten intolerance. Since we do a lot of entertaining at our house it's always easier to kill two birds with one gluten-free stone. Rather than making two desserts, one with and one without, I love to make one dessert that no matter what one's dietary requirement, every diner can enjoy. That means making desserts gluten-free.
  
   One of my favorite food guinea pig is one of our closest friends The Notorious Mr X.


Every year without fail, he seems to receive a box of Harry and David Pears. Sometimes he's in Kerala when they arrive, sending us photos while the pears moulder on his doorstep.


This year he was at home, and so he delivered a box of lovely pears to me with a request that I whip something up with them.


   The pears arrived just in time for a movie night at our house. Several of the guests are gluten intolerant and so I wanted to use them to make a holiday dessert. I wanted something gluten free but I didn't want to use one of my recipes. I was looking for something I'd never made before. So of course I went googling to USA Pears which is sort of the mother of all pear websites. I discovered that December is national Pear Month (who knew). I also discovered this amazing Gluten Free Pear and Almond Cake recipe courtesy of Carol Kicinski of Simply Gluten Free.
 One look at this, and I couldn't resist. I seemed to be the perfect dessert for our after the movie chai, and boy was it. It was also very simple to prepare which is a must for a weeknight. All you need are 4 pears and you're good to go.
 

Gluten Free Pear and Almond Cake


Here's What You Need:
4 pears. Ripe, but not too ripe. Keep things on the firm side.
1 and 3/4 cup of sugar plus 2 tsp of sugar
1 Tbs lemon juice
3 and 1/4 cups Almond meal (almond flour)
8 eggs, at room temperature
1 and 1/4 tsp vanilla extract
1 Tbs honey
1 Tbs neutral flavored oil, (grapeseed, canola)
1/2 cup sliced almonds

Here's What To Do:
Preheat the oven to 350 degrees. Place a baking rack in the dead center of the oven
Lightly grease a 9 or 10 inch springform pan.


Place a circle of parchment paper in the bottom of the pan.
Lightly grease the parchment paper also.
In a food processor or stand mixer, mix together 3 and 1/4 cup of almond meal 1 and 3/4 cup of sugar.


Blend the almond meal and the sugar together lightly using your paddle attachment.
Set it aside.
Peel and core the pears.
Take 3 of the pears and chunk them up roughly. Set the fourth pear aside.
Take the chunked up pears and put them in a small saucepan. Add in 2 Tsp of sugar.


And 1 Tbs of lemon juice.


Cover the pan of pears and cook them at medium heat for about 10 minutes or until they are soft.
Mash the pears to a coarse puree and set them aside to cool a bit.
Meanwhile, back at the sugar almond meal mixture in your food processor or stand mixer....
Add in the eggs one at a time.


Blend each of the eggs in well.


Once the pears have cooled enough, add the pear puree to the eggs and flour and sugar.


Add in 1 tsp of vanilla extract.


When all the batter is mixed together, pour it into the prepared spring form pan.


Set it aside.
Take the fourth pear and slice it into 1/4 inch wide pieces.
In a small skillet heat the oil and the honey.
When they're warm and blended together add in the sliced pears.


Turn the pears over a few times in the honey oil mixture to coat them.
Take the pan off the heat and stir in 1/2 tsp of vanilla.
Make sure the pears are well coated.
Sprinkle the 1/2 cup of sliced almonds over the top of the cake.


Arrange the warmed pear slices in a pinwheel shape on top of the cake.


Drizzle the juices in the bottom of the skillet over the top of the cake and the  pear slices.


Pop the cake on a rack placed in the middle of the oven. Bake for 55 to 65 minutes (depending on your oven).
Check your cake after 35 minutes and if you find it's getting too brown on top. You can put a bit of foil over it. I didn't need to do this.
When a toothpick is inserted in the center of the cake and comes out clean, it's done.


Put the cake pan on a cooling rack and let the cake rest for about 30 minutes in the spring form pan. After that you can remove the sides of the pan and put the cake on a serving plate.
You can remove the parchment paper before serving just in case some guest might get carried away. After all we're not goats.
Cut it up and enjoy.
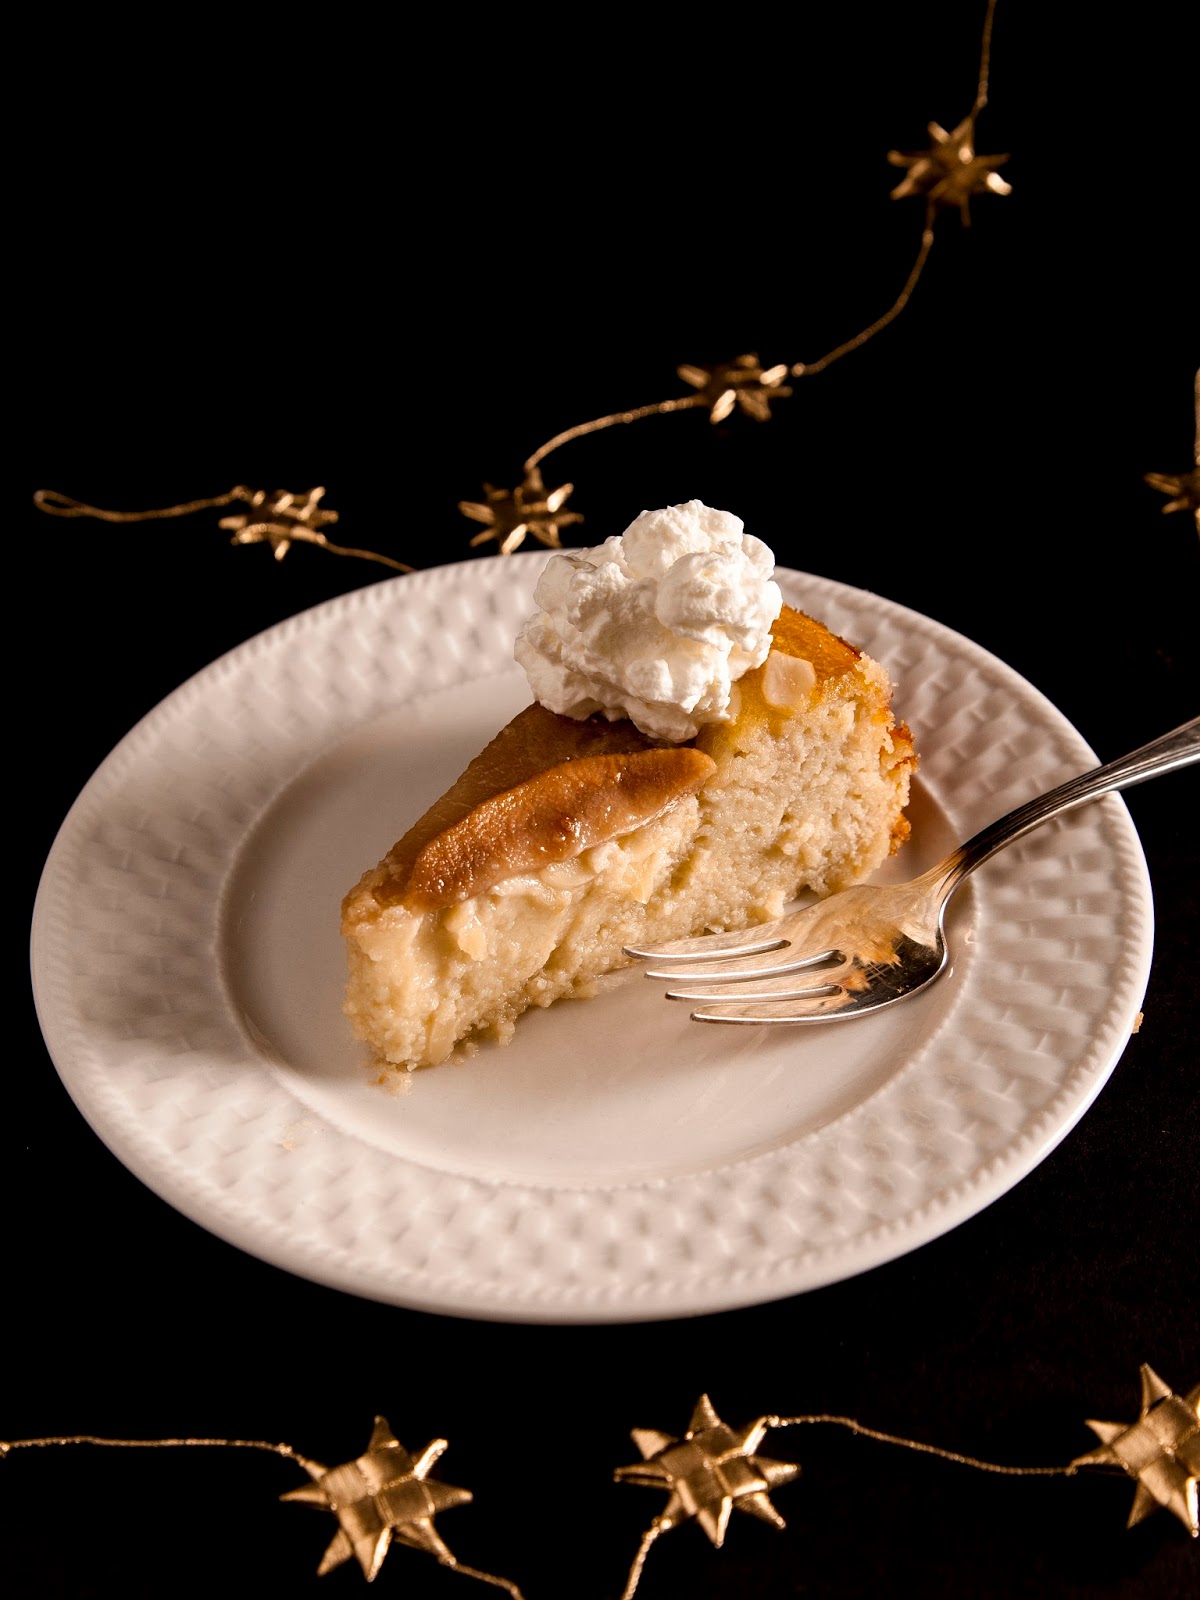
gluten free cake

   There it is, a cake that every gluten free guest can enjoy, and any non celiacs will never miss the gluten. It's definitely going into my permanent file.

   Coming up next, I'm cooking Christmas dinner and going old school Italian. Follow along on Twitter @kathygori

Wednesday, December 23, 2009

Deck The Halls With Cardamom And Saffron! Pot de Cremes Go East


When not dealing with my Volvo which is feeling just fine now thank you due to an infusion of cash, I am a writer. I work with my husband. We write screenplays and I cook lunch. That deal started when we were first married and had a big kitchen table and no office so we moved the computer into the kitchen and I'd cook while we wrote. We still have the big kitchen table, but now we have an office in the house, so that's where the computers are. That's where we work, but I still cook lunch because next to writing, cooking's what I love best.
This time of year is also when the Hollywood studios send screeners out for awards voting, and every day something new is arriving at the house for us to watch. The other day Julie & Julia arrived. I couldn't wait to see it.
When I was a kid, Julia Child was on TV and my parents lived to watch her drop a chicken or flub something and do a last minute save. They were convinced that she was nipping from the cooking sherry and cooking half in the bag. They found it highly amusing. As for me, all I wanted to be able to do was throw a web of hot spun sugar over a broomstick set between two chairs and make a perfect cobweb for my Buche De Noel without giving myself third degree burns or turning myself into human flypaper. It never happened.
When I left home to go out on my own, the first cookbook I bought was Mastering The Art Of French Cooking. I worked my way though it over the years. One of the dishes that I always served at the end of a diner party back in the day was the Pot De Creme. In fact I was so found of Chocolate Pot De Cremes that I had a lovely set of little porcelain Pot De Creme pots imported from France. Up until a few days ago when I dug them out, I hadn't used them in ages. In fact I'd forgotten thy were even there.
Watching the movie inspired me to make use of them again, this time using spices and flavors that I work with every day.
I thought how nice would a cardamom and saffron Pot De Creme be? Quite nice I discovered. And really pretty easy to make. Here's what I did.
First of all if you haven't got any lidded Pot De Creme pots, not to worry. Just use 1/2 cup ramekins and when cooking them in the oven, cover them with foil. It works just fine.
Once the Pot De Cremes are mixed and poured, they'll be cooked like all custards in in a pan of hot water.
Now that the equipment is straightened out, here's what to do:
1.) Preheat the oven to 325 degrees.
2.) in a small pot heat 1/2 cup of Half and Half and
3.) 16 whole cardamom pods which you have cracked with a mortar and pestle.
4.) Heat the Half and Half and cardamom until it just starts to boil with tiny bubbles forming around the edge of the pot. This should take a couple of minutes. Keep a sharp eye we don't want it to boil over now do we?
Meanwhile in a bowl whisk together
5.) 4 egg yolks and 1 whole egg with
6.) 1/2 cup of sugar.
Add in
7.) 1 and 1/4 cups of whipping cream
8.) 1/2 tsp of vanilla whisk it good and then add in the warm Half and Half cardamom mixture and a pinch of saffron. Be careful doing this. You don't want cardamom scrambled eggs. That's why you also don't want to get that Half and Half too hot.
When it's all well mixed, strain the whole thing into a big glass measuring cup and then pour the mixture into your Pot De Creme pots/ramekins and set them in a glass baking dish.
Pour hot water into the glass baking dish so that it comes half way up the sides of the pots/ramekins and cover the tops with tin foil, or if your pots have lids use those. Don't over-fill. I learned why, and it's not pretty. For a smooth surface you don't want your custard mixture touching the top of your lid. It doesn't really spoil anything but the aesthetics.
Slide the whole thing into the oven and bake it for 50 minutes. While they're cooking you might do a little decorating. I love stuffing ordinary evergreen wreaths I get at the market with whatever produce I have around the house. Chestnuts, walnuts, lady apples and all the persimmons that didn't make it into a salad or the Big Squishy. I also tossed a few pine cones in for good measure.


After a bit, check to see if they're done. They should be firm, yet the center should still be a bit wobbly.
Set your pots /ramekins on a wire rack to cool to room temperature then pop them in the fridge.
Serve them with a dab of whipped cream, and I don't have to tell you what to do after that. Yum.

I'm really getting back into this Pot De Creme thing again, they could become a habit...but hopefully not too bad of one. I suppose the next frontier to explore would be an Indian flavored Buche De Noel maybe with some pandan or kewra flavoring. Or maybe a pandan Pot De Creme. There are after all, two more weeks of Holidays to experiment in.
Wherever you are and whatever holiday you may be celebrating, make it a merry one!


**** This recipe just made the December 25th FoodBuzz Top 9!!

LinkWithin

Blog Widget by LinkWithin