Showing posts with label #glutenfree. gluten free recipe. Show all posts

Saturday, November 17, 2018

Cecina, aka The Little Black Dress of Appetizers

     
   Growing up in a working class Italian American household, I learned a LOT about not wasting stuff and making ends meet...usually right around the Thursday payday. Boxes of Kraft Mac and Cheese, peppers stuffed with whatever was left in the fridge, Jumbo bags of hot dogs from Food For Less, and waffles made with 7 up or sometimes Pabst Blue Ribbon Beer were the norm.

   I started cooking young, of out of self-defense. My mother was from a different background than my father and was not brought up to do housework, so shit got real interesting when she turned her hand to cooking.  She never seemed to realize that preheating the oven was something one had to do to cook food properly, and so we ate half-cooked meats, charred on the outside (because "on" is "on" and who the hell pays attention to those pesky oven dials and what they're saying). She baked lava cakes before their time simply because boxed cake mix was put into the oven and then the oven turned on. It's a wonder we weren't all dead from salmonella.
   
   My dad's immigrant grandparents on the other hand, were excellent cooks. My mom's parents liked going to the Redwood Room at the Clift Hotel on holidays if dad's immigrant side of the family was going to be attending. I guess they wanted to  make sure EVERYONE was speaking English around the holiday turkey. Considering this picture of those days, I guess they got their wish.

 
   My dad's family was fun. There were chicken feet boiling in a big pot on their stove (still wood burning) in their old, old, house. There were homemade ravioli, and broddo one could use as a mirror it was so clear. There were pigs feet and other startlements to my mothers old school American relatives when they showed up, and not many of dad's people spoke much English. I thought if I spoke English to them LOUDLY and slowly they'd understand me. I must have been a real pain in the ass to them.
   
   Mom's side were Republicans, dad's were Democrats and much fighting ensued. One fight ended with the removal of our furniture by my mom's dad who had given them the house...and I guess the furniture too evidently. Anyway, the upshot of all of this is I learned to cook, and I learned to be thrifty.  Which brings me to Torta de Ceci, that wedge shaped thing in the picture at the top of this page.

   Torta  de Ceci  aka Cecina belongs to what is called Cucina Povera, The Kitchen of the Poor. It's very, very easy to fix, costs nearly nothing, and one can dress it up or down, add or subtract. It's a basic, and a great dish to serve as an appetizer to a group.  All one needs for Cecina is a 10 inch cast iron pan and a bag of garbanzo flour. I like serving it on Holidays before my Italian style Thanksgiving, and it's perfect it if your group includes vegans, vegetarians, or anyone who is gluten free. Here's how to fix it.

Cecina

Here's What You Need:

3.5 oz garbanzo flour
5 Tbs olive oil
300 ml water
salt and pepper to taste

Here's What To Do:

Mix the garbanzo flour and the water in a bowl.
Blend it together well and then cover the bowl and let it sit for a couple of hours.

Coat a 10 inch cast iron skillet  with 3 Tbs of olive oil.
Put the olive oil coated skillet into a cold oven  (too bad mom never tried this one she'd have been a natural) and turn it on to 450 degrees.
When the oven is at 450 take the skillet out of the oven.
Pour the cecina bater into the hot hot skillet, drizzle 2 Tbs of olive oil over the batter then swirl it a bit with a spoon.
Put the skillet back into the 450 degree oven for 15  minutes.
After 15 minutes open the oven and move the skillet to the top rack and raise the heat to 500 degrees. Broil for about 5 minutes or so. This can cook really fast depending on ones oven so do keep and eye on it. When it starts to turn  golden and crusty take it out.

The finished Cecina should  be something firm enough to cut into slices.
Run a silicone spatula around  the edges and underneath the Cecina to loosen it.
Now, place a plate on top of the cast iron pan and turn it over so that the Cecina unmolds. The bottom is now the top! 

Slice it into  wedges. You can serve this topped with ricotta and pea shoots, olive tapenade,  caponata, proscuitto. Plain or fancy, you name it. Cecina is only  limited by your imagination and whatever your guests feel like eating.

So there it is. A simple, easy, warming treat for the holidays. Coming up next, more holiday dishes and how I became a restaurant consulting chef for gluten free dining.


Friday, July 14, 2017

Gluten Free Chocolate Lemon Tart...Plus A CocoaPlanet Golden Ticket Giveaway!


   For years I never knew that chocolate and lemon went together. I've always been a chocolate orange, or chocolate strawberry kind of person. Boy was I wrong. Working with the people at CocoaPlanet Chocolate I've learned a lot about what one can do with some really good chocolate, and the options are many. I've put somethings together with chocolate that I never thought of doing before, but was I late to the party on lemon.

   We were sitting around a few weeks ago and talking about some cool desserts that might be good on the CocoaPlanet menu. I was thinking lemon and Anne McKibben owner of CocoaPlanet and chocolate maker said  "how about something chocolate?"

   "Chocolate, check!"

    "And of course lemon..."

   "Say what! Lemon?!!" I was immediately intrigued about trying this combo, and then Anne said, "And make the crust chocolate too!"

   "Hmmmm, chocolate, chocolate, and lemon."  Why the hell not?! We'll just go to hell in an ultra large hand basket in that case.

   I have had a huge lemon crop this year, so finding delicious Meyers was no problem and I sure enough had all the chocolate I needed. As to the gluten free crust I turned to the Queen of Chocolate Crusts, my friend Alice Medrich . Alice, has a recipe for a killer-diller chocolate crust that anyone who's on a gluten free diet should know about. This tart is easy to make and keeps well in the fridge.

   At the end of the recipe is a total Chocolate Giveaway , so stick around and enter.

Chocolate Lemon Tart


Here's What You Need:


 Alices' Crust
1/2 cup plus 1 Tbs Teff Flour
3 Tbs white rice flour
1/4 cup sugar
3 Tbs unsweetened cocoa powder
1/4 tsp salt
6 Tbs unsalted butter slightly soft and chunked up
2 Tbs cream cheese
1 and 1/2 tsp water
1/2 tsp vanilla
1 egg yolk mixed with a pinch of salt, and 1 tsp of water for the egg wash

Here's What To Do:
Put the teff flour, cocoa powder, rice flour, sugar, and salt into a food processor. Pulse to blend
Add in the butter chunks, cream cheese,water, and vanilla.
Pulse until it forms a soft dough

Transfer the dough to a 10 or  11 inch greased tart pan.
Press the dough into the tart pan and up the sides....
Alice's trick (and now mine) for working dough, is to place a piece of plastic wrap over the bottom and sides of the dough, place a paper towel over that and press the dough flat and even with a straight sided, flat bottomed cup.
Get rid of the paper towel but leave the plastic wrap in place.
Put the tart pan into the fridge for at least 2 hours, overnight is best. It can also be refrigerated for 2 days before you use it.

When the crust has chilled, preheat the oven to 325 degrees.
Remove the plastic wrap from the tart crust. Place the tart pan on a baking sheet and  bake for about 35 minutes.
Check the crust after 15 minutes and if you see it puffing up on the bottom press it down carefully with the back of a fork.
Bake the crust until it is a slightly deeper shade of brown and the crust has pulled away from the sides of the tart pan.
Take it out of the oven and set it aside to cool.


  The Filling: Chocolate Ganache

Here's What You Need:
6 oz CocaPlanet Deep Dark Truffle Chocolate, chopped
6 oz whipping cream

Here's What To Do:
Heat the cream until it's nearly at the boil, but NOT boiling.
Pour it over the bowl of chopped chocolate .


Let it sit for about 5 minutes.
After 5 minutes when the chocolate is melted, whisk it into the cream.


Let it cool down at room temperature.
When it has cooled enough so you can still pour it, pour it into the bottom of the tart.


Place it into the fridge to chill until the chocolate ganache is set.

The Lemon Filling

Here's What You Need:
1 cup of sugar
6 egg yolks
1/2 cup of lemon juice
4 oz of cold unsalted butter cut into small pieces
1 Tbs lemon zest

Here's What To Do:
Mix the egg yolks with the sugar in a small pot.
When you have a thick mixture, add in the lemon juice. Put the whole thing over a medium flame and whisk constantly until it starts to thicken.


You want to KEEP WHISKING so that your lemon curd does not turn into curdled lemon scrambled eggs.
When it has thickened, take the pan off the heat, whisk in the butter pieces...


...and the lemon zest.


Set the lemon curd in the fridge to chill and firm a bit.
When it has chilled for a while, and your chocolate ganache layer is firm, pour the lemon curd over it.


Spread it out evenly, and place it in the fridge until it's ready to serve.


Cut it up and have a ball!!!


This is great with a bit of unsweetened whipped cream, it's not a command but just sayin' ...it doesn't hurt.

So, there's the tart and here's The Giveaway

I have 3 CocoaPlanet Golden Tickets to give away.


Each ticket is good for two people for a tasting and a tour...so if you are planning on coming to Sonoma and you'd like a set of these tickets follow me and CocoaPlanet on Twitter @kathygori  
Leave me a comment here telling me you've done so.

I'll be announcing the winner Next Fri July 21st. So if you're planning on getting up to lovely wine country please enter!!!!

Saturday, May 20, 2017

Fast and Cool, French Lentil Salad With Goat Cheese and Toasted Walnuts.

  
   So the hot hot hot weather has officially arrived here in Sonoma. This does not mean it still doesn't get chilly down in the 40's at night (good for the grapes) but the days and long evenings chill down slowly and dining out on the deck or patio or garden becomes a regular event. When it starts to heat up around here I tend to go for make-ahead stuff. I like things I can put together easily and quickly during the cool evenings before the hot days get rolling. Which is why this French lentil salad is a new favorite at our house. It's quick, easy, and can be made ahead. Toss in a green salad and a loaf of crusty bread and you're golden. This French lentil salad comes from  David Lebowitz and while working on the Summer menu for CocoaPlanet Modern French Cafe we thought it would be a perfect fit.  If you can, try and find LePuy French Lentils. Up close they look like beach stones.


I find they are superior, but any good French Lentil will work just as well.

French Lentil Salad


Here's What You Need: 

 Salad:
1 and 1/2 cups French Green Lentils
1 bay leaf
5 sprigs of thyme
'1 carrot peeled and finely diced
1 small rerd onion peeled and finely diced
1 rib of celery washed and finely diced

Dressing:
1 Tbs red wine vinegar
1 and 1/4 tsp kosher salt
1 tsp whole grain Dijon mustard
1/3 cup olive oil
1 small shallot peeled and minced

The Finish:
1/2 cup finely chopped Italian parsley
1 cup chopped toasted walnuts
1 cup crumbled goat cheese

Here's What To Do:

Rinse the lentils, and put them in a pot with plenty of lightly salted water...


...the bay leaf, and the thyme.


Bring to a boil, then turn the heat down and simmer for about 15 minutes.
After 15 minutes add the finely diced carrots, onion, and celery.


Simmer gently for about 5 to 10 minutes or until the lentils are tender. DO NOT overcook them.
While the lentils are simmering make the dressing.
Finely chop the shallot.


Mix the vinegar...


...olive oil...


...salt...


...shallot...


...and mustard.


Whisk everything together well and set aside.
When the lentils are tender, remove the bay leaf and thyme springs...


...and drain them.


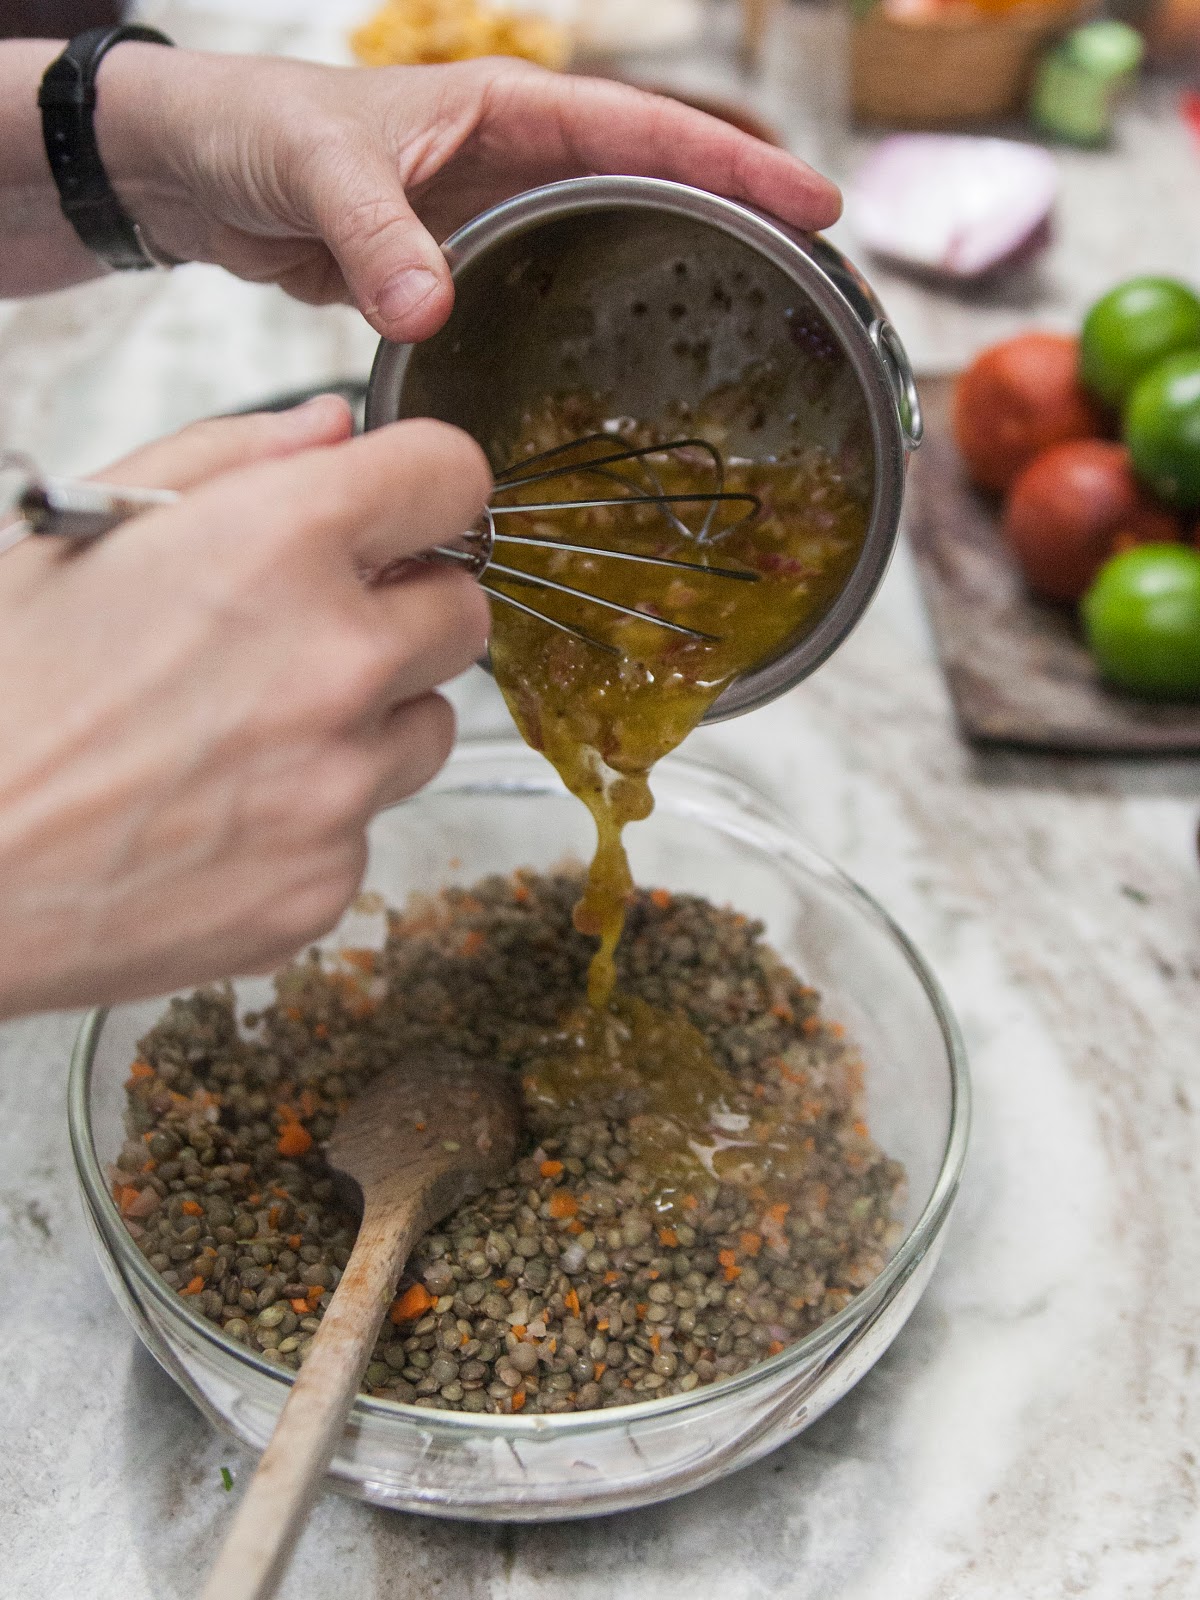
Pour the warm lentils into a bowl, and mix the dressing into them while they are still warm.


Stir the dressing in so that the lentils are all coated.
Let it cool to room temperature.
Meanwhile, toast and chop the walnuts.
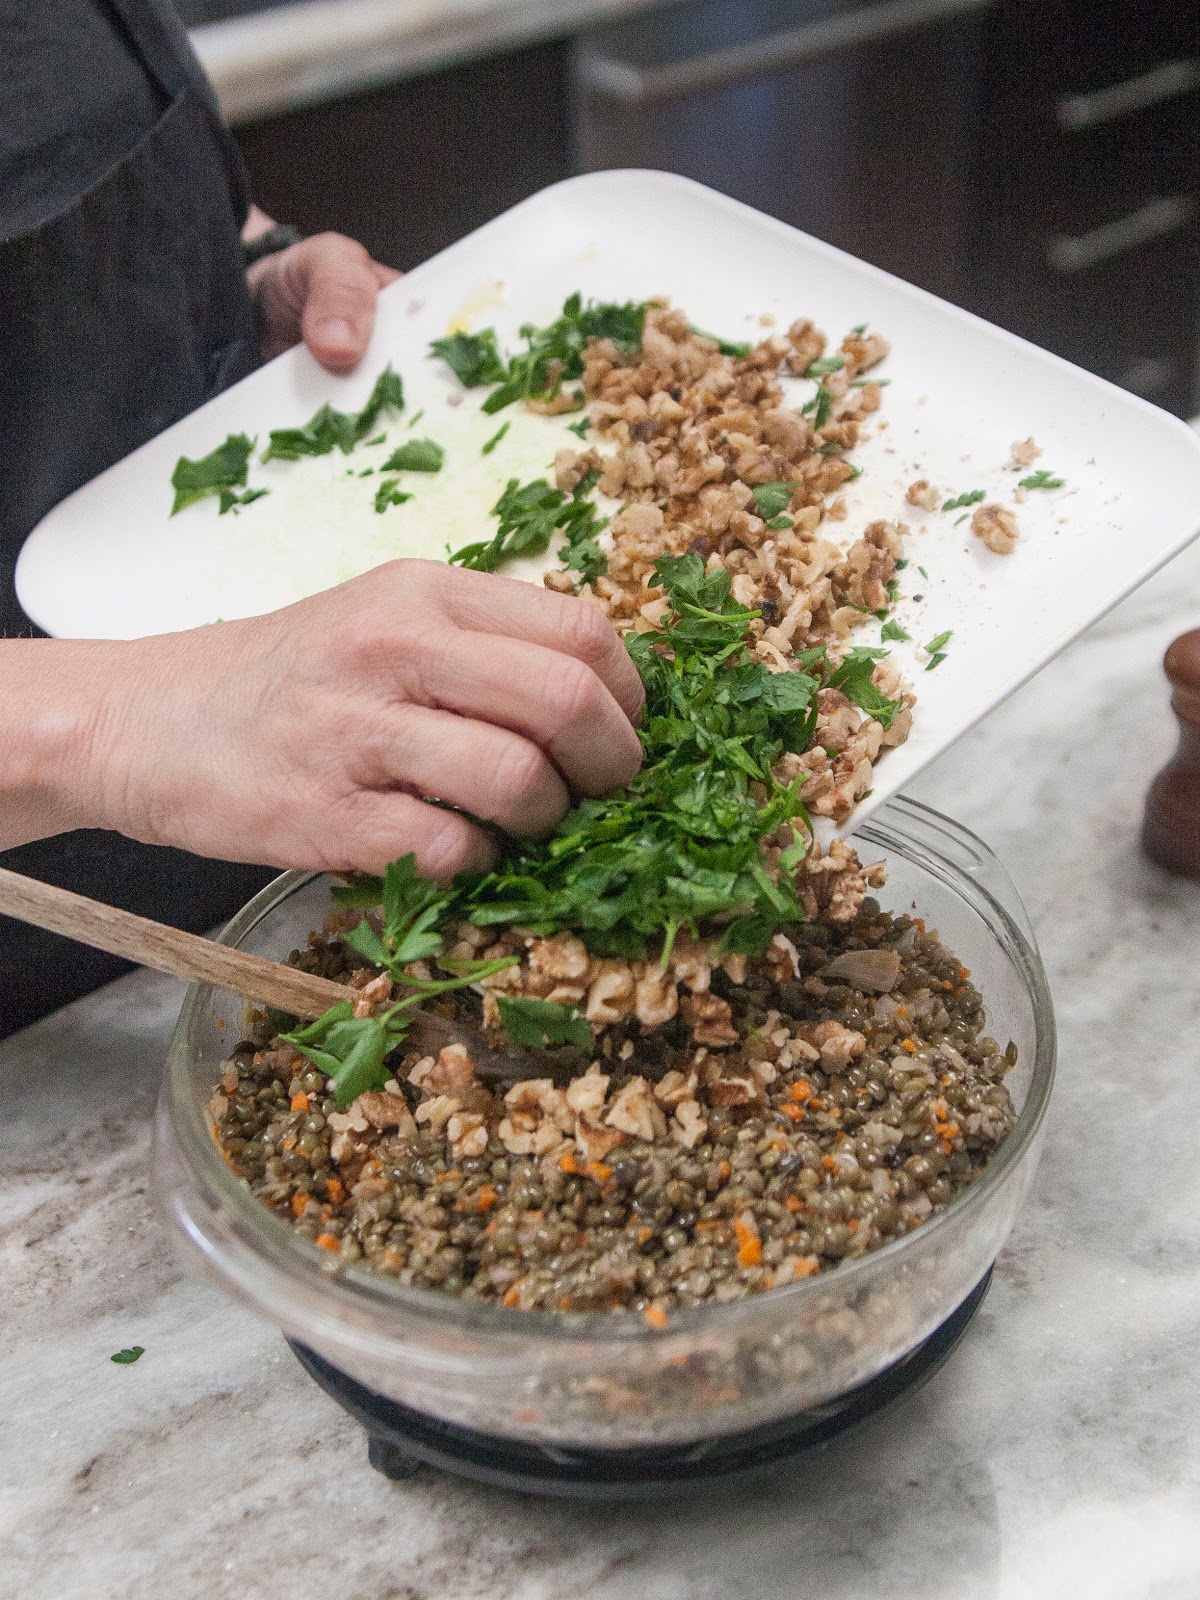
When the lentils are cooled, mix in the chopped parsley and walnuts.


Stir everything together well.


When the salad is cooled, stir in the crumbled goat cheese.


The reason to wait until it's cooled is so the goat cheese does not melt when added to the salad.
Serve it up with green salad and a loaf of crusty bread.


  This is a satisfying dish, great for hot Summer days and nights, and a perfect addition to any backyard buffet! Coming up next...Chocolate and a special give-away!  Follow along on Twitter @kathygori

Sunday, April 9, 2017

Fast and Spicy. The Cauliflower Your Mom Warned You About.


   Actually not really. This cauliflower dish is simply easy, tasty, quick to fix and perfect for any weekday meal... even if every time I fix it my husband says the house smells like the Lower East Side circa 1920. But I don't care, cauliflower is good, inexpensive and one of the most versatile vegetables out there. It's also pretty and the spring-like colors of this cruciferous wonder out there right now remind me of a basket of parti-colored Easter Eggs.

   Cauliflower comes in a variety of colors, purple, pinks, greens, yellows and plain old white, so when I was at the market I was drawn to all the pretty colors and decided I needed more Gobi in my life. Also, they were on sale... just sayin' . So, I chose a brilliant deep golden one and took it home.
  
  
  I wanted a simple way to cook this cauliflower, something that wouldn't take all day as we're in the midst of a script and I couldn't spend hours in the kitchen, so I turned to a basic Gujarati sabzi, a simple dry curry vegetable dish, and to speed things up, I roasted the cauliflower before cooking. This allowed me extra work time as I could pop it into the oven on a baking sheet get some work done while it roasted, and then do the final assembly quickly. I highly recommend roasting as it really brings out a lot of flavor, and as I said, keeps things moving. Also I'm not nuts about filling the house with the aroma of boiling cauliflower.

Simple Gobi Sabzi


Here's What You Need:

For The Cauliflower : 
1 medium cauliflower broken into florets
1/8 tsp turmeric
2 Tbs vegetable oil, I use coconut oil
2 serrano chilies slit
1 peeled and crushed shallot
1/2 tsp chopped fresh ginger
1/2 tsp cumin seeds
1 dried red chili
1 finely chopped onion
1 fresh tomato peeled and chopped or diced chopped canned tomatoes
1 tsp chopped fresh cilantro

For the Spice Paste:
1/2  cup of water
1 tsp kashmiri chili powder
1/2 tsp coriander
1/2 tsp garam masala
1/2 tsp turmeric
2 Tbs yogurt


Here's What To Do: 
Preheat the oven to 400 degrees.
Cut the cauliflower into florets.


Place them into a bowl and drizzle them with 1 Tbs of coconut oil and 1/8 tsp turmeric.


Mix everything around well so the cauliflower is coated.
Place it on a baking sheet and pop it into the 400 degree oven to roast for about 20 minutes.


Check in and stir it around. When it starts to get slightly crispy-looking, it's done.


Take it out and set it aside.
Mix together the ingredients for the Spice Paste.
Whip the yogurt.


Mix it with the water.


Add in the Kashmiri chili, garam masala, turmeric, and coriander powder.


Mix it together well.
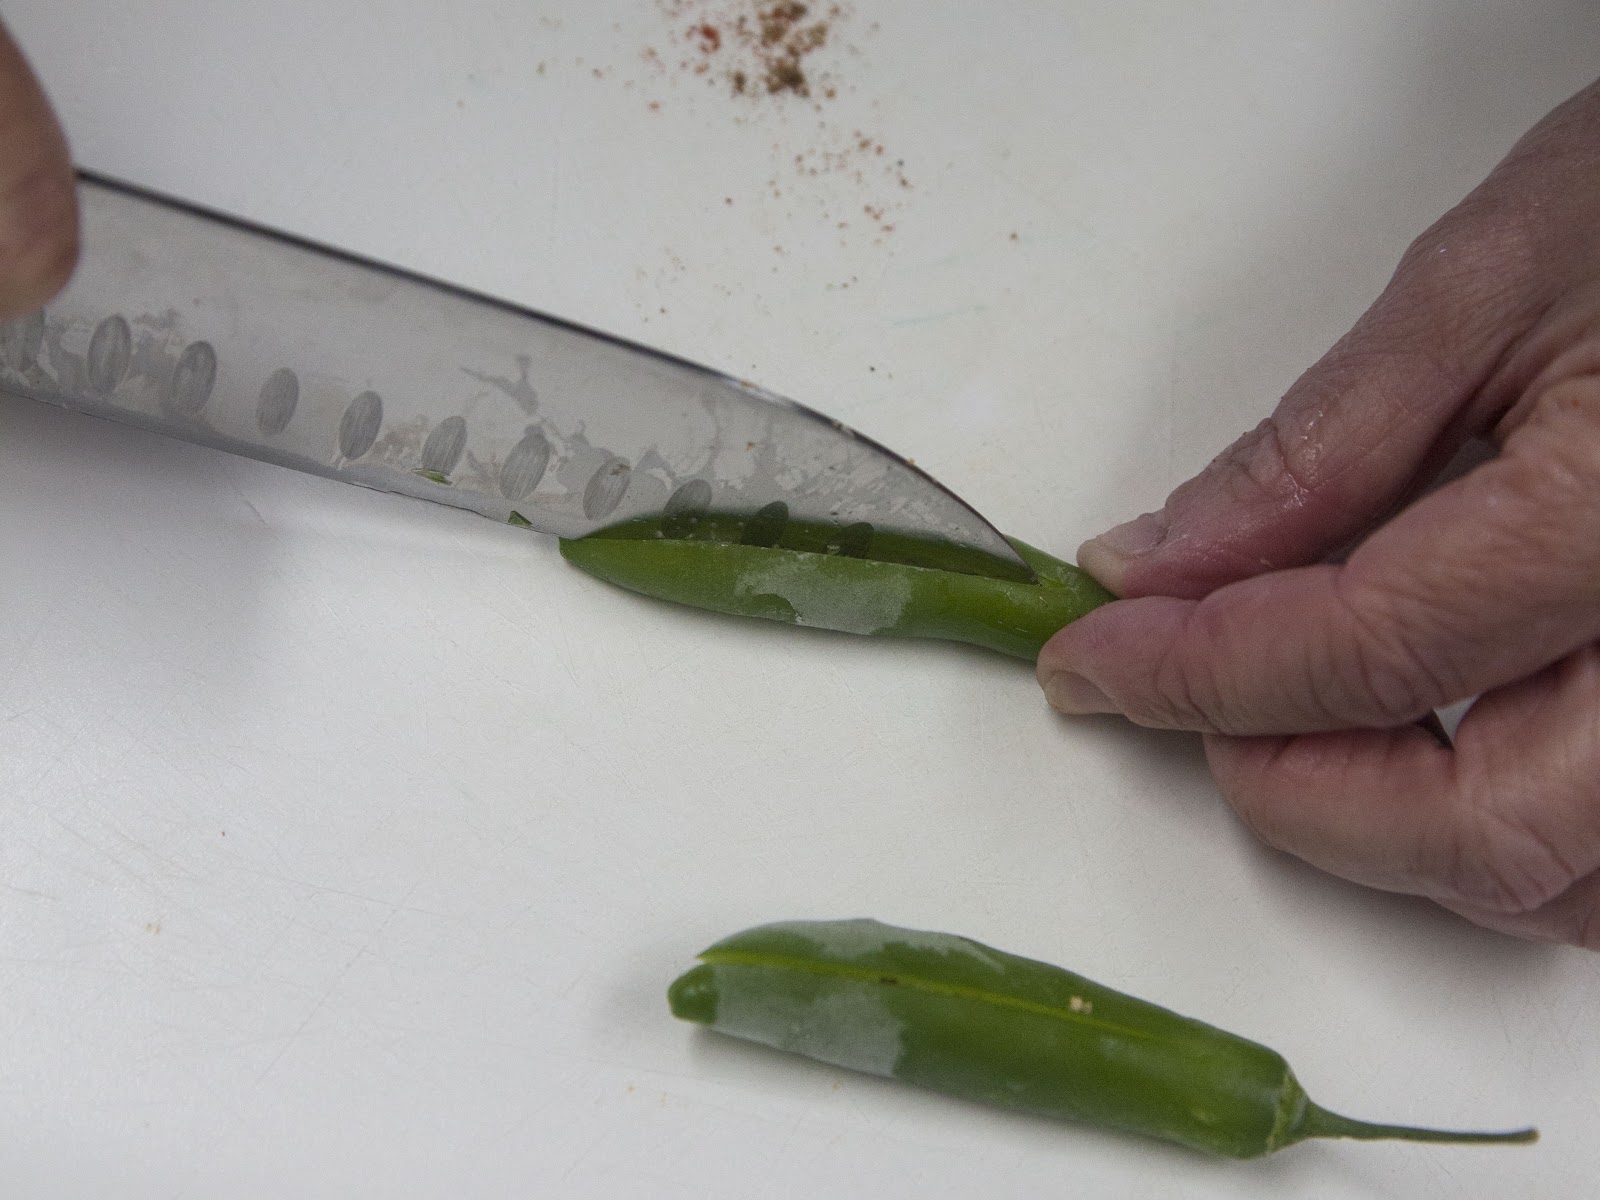
Slit the serrano chilies.


Crush the shallot and chop the ginger.


In a skillet or kadhai heat 2 Tbs of vegetable oil.


When the oil is hot toss in the 2 slit serrano chilies. Let them sizzle for about 10 seconds then take them out and set them aside.


Now add in the cumin seeds.


When the seeds start to crackle  add in the ginger, shallot, dried red chili and saute everything for about 2 minutes.


Now add the chopped onion...


...and diced tomato.


Let them saute for about 2 minutes then pour in your spice paste.


Mix it in well and cook it until it starts to thicken and the oil seperates.


Now add in the previously roasted cauliflower.


Cook it until the cauliflower is warm again and cooked through.


Check it for seasoning and serve it up.
Garnish it with the serrano chilies and sprinkle it with the chopped fresh cilantro.


Just don't eat the serranos. We took our lunch out into the garden.

cauliflower, cauliflower sabzi, Indian food
     
   The cauliflower in this dish can be roasted ahead, the spice paste made ahead... all in all this is why this dish makes a great lunch or dinner side. Enjoy it with rice, chapattis or any American main course. Coming up next more Seasonal Indian dishes and a surprise giveaway from the gang at CocoaPlanet Tasting Room and Modern French Cafe...win a Golden Ticket! Follow along on Twitter @kathygori

LinkWithin

Blog Widget by LinkWithin