Showing posts with label gluten free dessert. Show all posts

Monday, December 28, 2015

Straight From Tuscany, Light and Delicious Chestnut Cake With Chocolate Ganache.


   It's the week after Christmas and as we enter the run up to New Years Eve and New Years Day and all that entails, there's been a whole lot of baking going on at our house. Part of the reason for that is the work that I've been doing for the new CocoaPlanet Cafe which will be opening here in Sonoma in the new year. All of the Pastries, and pastas are going to be gluten free so every week involves baking, and cooking, and every Saturday night for the last month or so, recipe testing and tasting. One of the naturally gluten free flours I have enjoyed using is an old standby from my childhood, Chestnut flour.
  
   Chestnut flour has long been part of Cucina Povera, or the Kitchen of the Poor, aka peasant food. It's a method of cooking using what is found and easily and cheaply accessible. Chestnuts and chestnut flour are one of those pantry staples that fits the bill. My family on both sides comes originally from Tuscany and the Piedmont region in Northern Italy and chestnut delicacies were often found on the family table at holidays. One of those delicacies is this light and delicious Chestnut Cake.

  I have a lot of gluten free friends and have cooked for them for years. Working with Indian food, leaving out gluten is pretty dang easy. Because of that, I always think the best gluten free food is stuff that is not a deliberate recreation of gluten laden foods, made gluten free, but recipes that were never made containing gluten. That way everybody wins. So if you get some chestnut flour (I found it easily on Amazon) a whole world of naturally gluten free baking opens up. Hello chestnut cake.

Chestnut Cake With Chocolate Ganache 


CAKE:

Here's What You Need: 
1 cup plus 1 Tbs chestnut flour
3/4 cup plus 1 Tbs sugar
7 Tbs salted butter at room temperature
3 Tbs milk
1 and 1/2 tsp baking powder

Here's What To Do:
Preheat the oven to 320 degrees.
Take an 8 inch cake pan and grease it well.
Cut a piece of parchment paper and place it in the bottom of the cake pan.


Cut it to size.


Grease the paper too.


Set it aside.
Run the chestnut flour through a sieve or wire mesh basket to get out any lumps.


 Put all the ingredients for the cake in a large bowl and mix until the batter is smooth.


Pour the batter into the well greased cake pan.


Place it in the oven and bake for about 20 minutes. You'll know it's done when a toothpick inserted into the center of the cake comes out clean.


Let it cool in the pan on a wire rack.
Then run a knife around the outside of the cake.
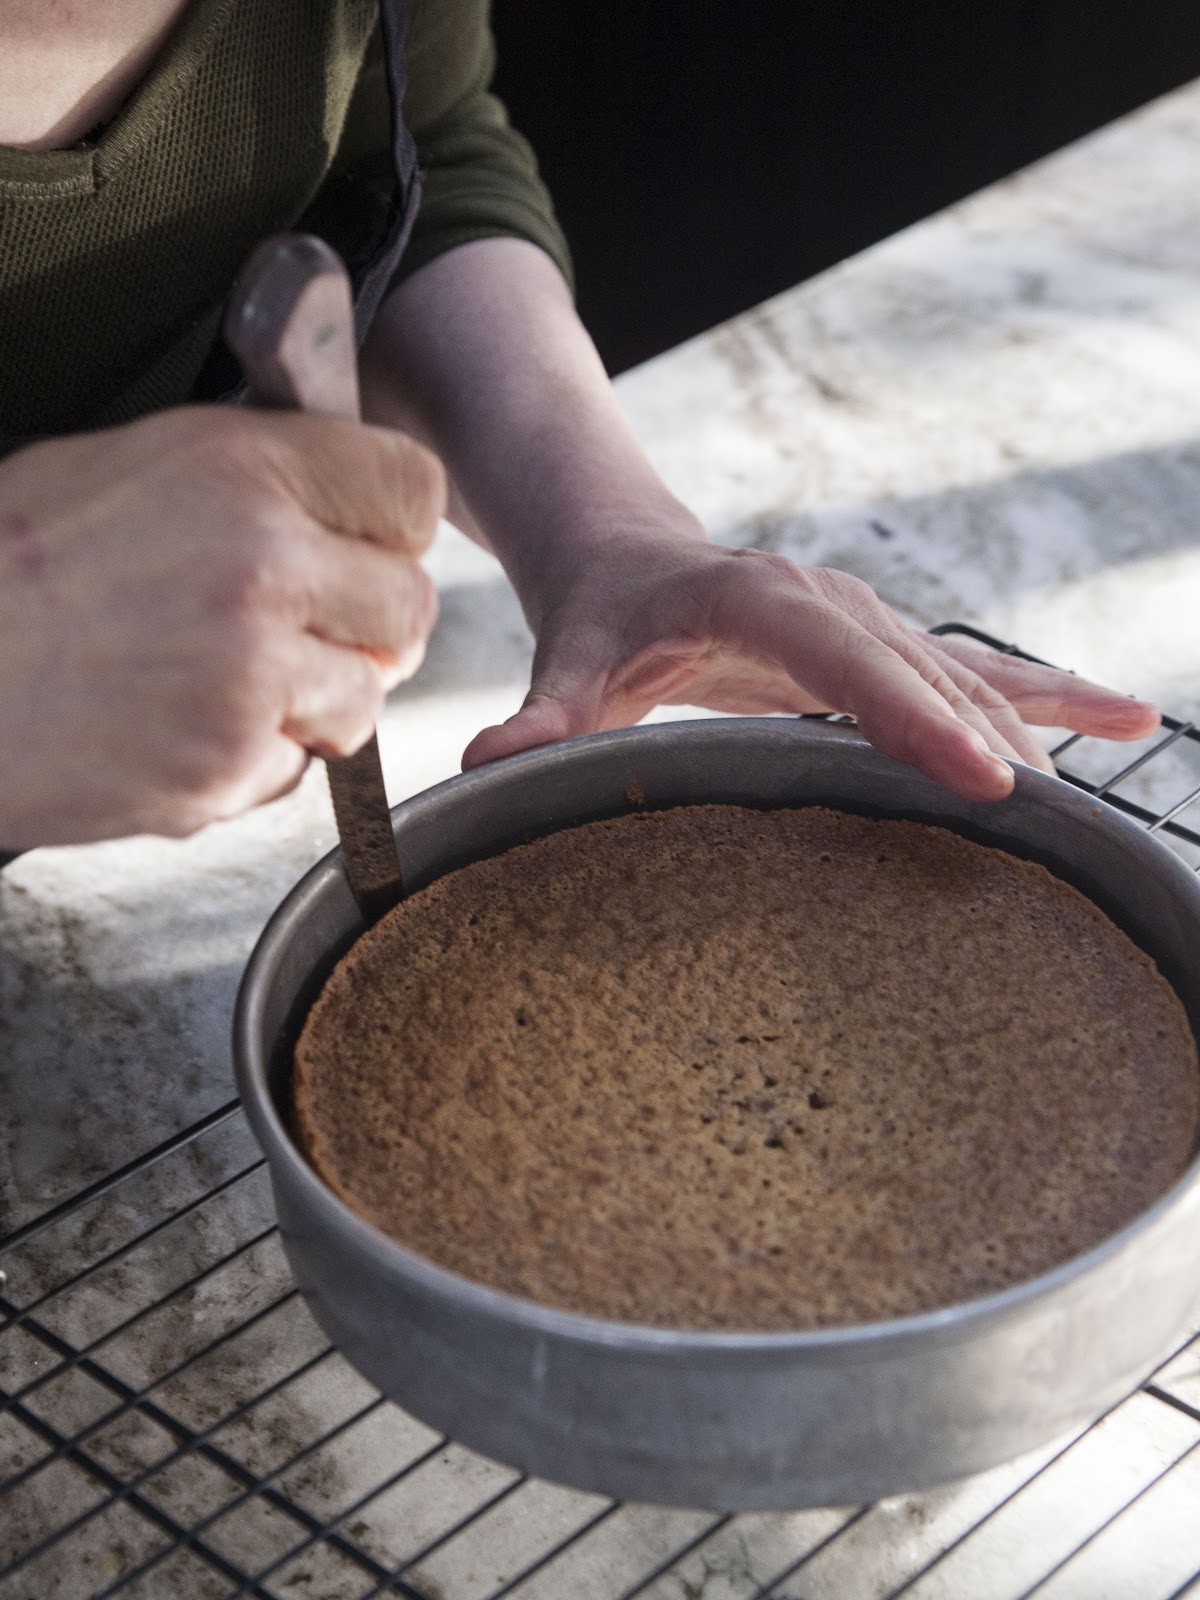

Place a plate over the top of the cake and upend it. Removing the cake from the pan. The bottom of the cake is now the top.
Remove the greased parchment paper from the top of the cake.
Prepare your ganache icing.


GANACHE ICING:

Here's What You Need:
 Five rounds (about 5 oz) of Cocoaplanet Deep Dark Truffle Chocolate
2 Tbs unsalted butter
1/2 cup whipping cream

Here's What To Do:
Gently melt the chocolate in a pan.

add in 2 Tbs unsalted butter.
Stir well.
Add in about 1/2 cup of whipping cream.


Mix everything together well. When the ganache is shiny and smooth set it aside to cool a bit.


When it has cooled sufficiently, start to ice your cake.


Pour the cooled ganache over the top and using a frosting knife smooth it around the sides.
Let the ganache set and when it has firmed up. Serve it up!


   There it is, a Tuscan treat. "Poor mans cake" made luxurious with chocolate.
Coming up next a quick and easy way to make Butternut Squash Risotto courtesy of my Friend Judy of Divina Cucina. Follow along on Twitter @kathygori

Monday, November 16, 2015

Gluten Free, Chocolate Shortbread Cookies With CocoaPlanet Chocolate Ganache Icing. PS: They Can Be Vegan Too!


   This is cookie season, aka, The Holidays. No matter what you're celebrating there's always room for a cookie or two, and this is a cookie recipe that can be enjoyed by anyone no matter what their dietary requirements.

   I've been working with the folks at CocoaPlanet for a couple of years now and I'm thoroughly in love with their chocolate. Because the owners of the business cannot eat gluten, their chocolate is entirely gluten free, lactose free, non GMO, and fair trade. Anne McKibben, the creator of CocoaPlanet is of French ancestry, and learned chocolate making from her mom. This stuff is GOOD! Seriously old school. They're opening their CocoaPlanet factory here in Sonoma next January and it's also going to house a cafe and also garden dining where one can do chocolate tastings and grab a meal at the same time. I'm working with them developing gluten free and vegan dishes for the menu. This is the most fun food assignment I've had in quite a while.
 
   One of the things I've come up with for CocoaPlanet are these chocolate shortbread cookies. They're easy to make at home. The dough keeps well in the fridge or freezer when properly wrapped which makes them perfect for last minute holiday guests. They can also be made vegan, with one simple shortening change. This recipe uses butter, but one can easily switch that out for any vegan shortening. I've been making quite a few batches of these while we've been "testing" (technical word for pigging out) them. This is a delicious and easily made cookie, so in case you can't get out to CocoaPlanet in person, you can buy their chocolate and make these at home. In fact all of the ingredients are easily found at any Whole Foods or natural foods market.

Gluten Free Chocolate Shortbread Cookies


Here's What You Need:
 
For the Cookies
2 cups plus 4 Tbsp of teff flour
12 Tbsp white rice flour
1/2 cup of good quality dark unsweetened cocoa powder
2 sticks unsalted butter at room temperature or an equal amount (1 cup) of vegan shortening
1/2 cup of granulated sugar
1/4 tsp kosher salt

For the Ganache 
1/2 cup of whipping cream, or full fat coconut milk
10 oz of CocoaPlanet Mandarin Orange Chocolate.

Here's What to Do: 


Mix together the rice flour and teff flour. I always keep a container of this rice flour/ teff flour mix in the house ever since Alice Medrich came to lunch at our place and turned me on to it. As Alice has pointed out in her book Flavor Flours, Teff flour is a killer mix with chocolate. This stuff is a good thing to have around if you are a gluten free chocolate lover.

Scoop out 1 and 1/2 cups of the teff / rice flour mix you made.
Sift this flour mix together with the cocoa powder, and kosher salt and set it aside.


In an electric mixer or with a hand mixer beat the butter or shortening for about 4 minutes or until it's nice and fluffy.

Add in the sugar.


Beat it for about another 2 minutes.
Adjust your speed to low and add in the flour cocoa mixture.


Mix it together on a low speed until everything in combined and the dough sticks together.
Lay down some waxed paper.
Place the cookie dough on it and shape it into a disc.

Lay more waxed paper on top and flatten the dough until it's about 1/4 inch thick. I do this because the dough is going to be cut with a cookie cutter when it's firm.

Place the cookie dough into the fridge to firm up. This takes about 1 hour.

You can also roll the dough into a log shape and wrap it in waxed paper. Doing it that way allows you to just cut pieces off the log and bake them whenever you'd like. 

Preheat the oven to 325 degrees.
After the dough has firmed up, take it from the fridge and smooth it out a bit with a rolling pin to get it to the thickness you'd like. Always keep waxed paper between the dough and the rolling pin so nothing sticks.
Place a piece of parchment paper or a silicone baking mat on a cookie sheet.
Using a small round cookie or biscuit cutter, punch out round cookies and place them about an inch apart on the sheet. They will spread while baking.


You want them to be about this thick.


When they're all on the cookie sheet place them in the oven and bake for about 20 minutes.


Take them out and let them cool on the cookie sheet for about 5 minutes or so and then transfer them to a cooling rack.

Meanwhile mix the Ganache according to this recipe.
When the cookies have cooled ice them on one half of one side.


Place them on a cooling rack so the ganache can set.

Don't refrigerate these cookies, just keep them in an airtight container to store them. You likely won't be keeping them too long, as these don't last especially around kids! Here's a delicate serving suggestion..but who am I kidding?

Just reach in a grab a fistful. Your gluten free/ vegan friends will thank you, and those that aren't will never know the difference unless you tell them. Right now there's only one place to get these and that's my house..but as soon as CocoaPlanet opens here in Sonoma...they'll be on the menu.

   We're pretty excited here about another project we're doing that's going to be coming up on the day after Thanksgiving aka Black Friday when The Colors of Indian Cooking comes to the Ferry Building in San Francisco courtesy of Steve Sando and Rancho Gordo Beans.... details very soon.
 Coming up next. Winter vegetables and Indian comfort food. Follow along on Twitter @kathygori

Sunday, February 16, 2014

An Italian Classic Gets an Indian Twist, Mango Panna Cotta With Salted Pistachio Brittle.

Mango Panna Cotta
         
   Around here, KISS has been the word over this Valentines/ Presidents Day weekend. Not the smoochy type of kiss but the keep it simple stupid variety. We're  in a whirl of hunting over there. No, there's no ammo involved in this hunt. Just a lot of real estate (not my favorite subject) The people who bought our house are moving in in two months, we're nearly finished with the renovation on my parents house and we're looking for a new house to buy, and/or a temporary rental to live in while we continue our house hunt, or renovate whatever we buy. Arrrrgh! I just don't want to think about this stuff anymore. I want to get back to work, but this is life right now and I'm very aware there's a whole lot worse that life can dish out. So, I'll shut up now and get on to what's really important, easy, tasty, food. In this case, dessert because dessert makes one feel better no matter how one's day goes, or where. A fast dessert is even better. A dessert that can be made gluten free and even vegan, better yet.Thus, the Mango Panna Cotta.
   
   I haven't made a panna cotta in years. It used to be my go to, easy company dessert but then I got bored with it. Sometimes stuff can be too easy as my mom used to say. If you've not made or eaten panna cotta before I highly recommend it. It's an easy Italian custard sort of dish, but a  custard minus the eggs, which I suppose doesn't really make it custard after all.  Actually, in reality, Panna Cotta is a form of Blancmange. Blancmange, a pudding is traditionally made with milk or cream, sugar and gelatine. It's constantly being spoon fed to swooning invalids in 19th century novels which is where I first ran across it. In novels there seems to be nothing that a little blancmange can't make better.


Also it's so fun and easy to make...


Of course once the Italians got their hands on blancmange, they had to jazz it up a bit.


They changed the name to panna cotta. From there it's a hop, skip and jump to give this simple easy dessert Indian flavors.  Panna cotta can be made with any sort of milk, almond, rice milk, coconut milk, or dairy will do. If you want to make the dessert vegan, use agar agar rather than gelatine, and it's naturally gluten-free. It can also be sugar-free depending on the sort of fruit one is using in the recipe. All the dish involves is mixing the gelling element with the liquid and chilling for a couple of hours. It doesn't get much easier. Is it any wonder, when I found myself flailing around looking for something easy yet fun to make for some friends dropping by, I started thinking about panna cotta once again? But this time, panna cotta with a difference.

Mango Cardamom Panna Cotta with Salted Pistachio Brittle

Here's What You Need:
1 and 1/2 cups of whipping cream
2 and 1/4 tsp of gelatine or the equivalent in agar agar
1 and 1/2 cups of mango puree plus 1/2 cup extra mango puree for Mango coulis
15 green cardamom pods
1/3 cup chopped pistachios
Sea Salt to taste
1 cup of sugar

Here's What To Do:
Puree fresh or defrosted frozen mango.


When the mango is pureed, set aside 1/2 cup for the coulis.


Crush the green cardamom pods in a mortar and pestle.


Remove the seeds and throw the pods away. Crush the seeds and grind them up.
Pour 1 and 1/2 cups of whipping cream into a small pot.


Sprinkle the gelatine or agar agar oven the cream in the pot.


Let the gelatine "bloom" on the cream. This takes between 1 and 2 minutes. When the surface of the cream becomes wrinkled and puffy, the gelatine has "bloomed" and is ready to use.
Whisk the gelatine into the whipping cream so that it's blended.
Add in the ground up cardamom seeds.


If you are using any sugar, now is the time to add it in. (This will depend on the sweetness of the mango you are adding later. My mango puree was very sweet so I didn't feel it needed any sugar, this is a matter of taste.)
Warm the milk or cream, (sugar if you're using it) and gelatine so that everything is dissolved. DO NOT BOIL. Take a bit of the mixture and rub it between your fingers. If there is no graininess then all is good and the gelatine is thoroughly dissolved.
When the mixture is warm, mix in 1 and 1/2 cups of mango puree.


Pour the mango panna cotta mixture into 5 small ramekins and pop them into the fridge to chill for about 2 hours.


Thoroughly puree the extra half cup of mango so that it's very very smooth and set it aside in the fridge to chill. This is the coulis.
You can serve these right out of the ramekins or unmold them easily by running a sharp knife around the rim, then dipping the bottom of the ramekin briefly into a bowl of hot water. Unmold them onto a dessert plate.
Decorate them with a bit of the mango coulis, top with a shard of Salted Pistachio Brittle, (recipe coming up soon.)


Serve them up.

Delicious, and simple pure mango flavor. This is the sort of recipe that easily adapts to whatever dietary needs you or your guests may have. Coming up next, how to make the pistachio brittle.

Friday, December 20, 2013

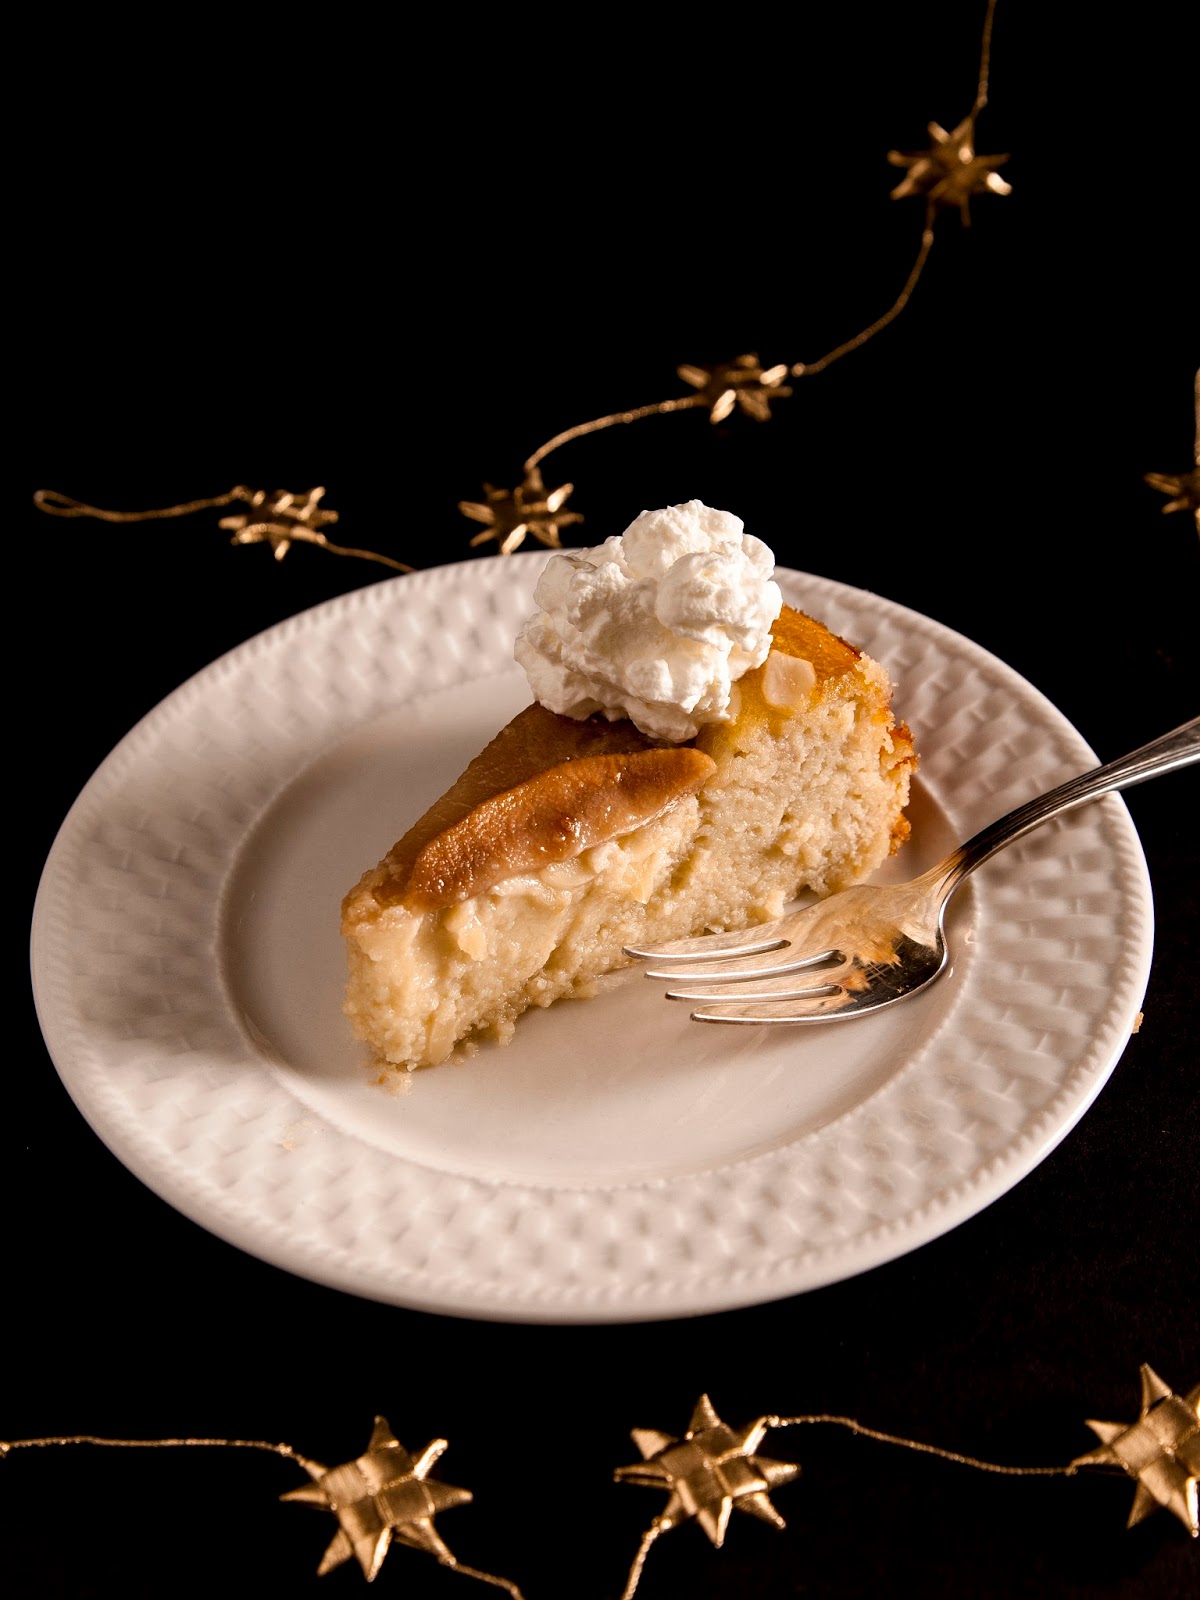
Right Outta The Box, Just in Time For Party Season. Gluten Free Pear Almond Cake

gluten free cake

   For someone who is not gluten intolerant I seem to do a lot of gluten-free cooking and baking. One reason is that Indian food, which is what I'm cooking around here 99% of the time, is a very easy cuisine for gluten free people to eat (not to mention vegans and vegetarians) without any change in recipes.  I also happen to have a lot of friends who are either themselves celiacs, or who have kids with gluten intolerance. Since we do a lot of entertaining at our house it's always easier to kill two birds with one gluten-free stone. Rather than making two desserts, one with and one without, I love to make one dessert that no matter what one's dietary requirement, every diner can enjoy. That means making desserts gluten-free.
  
   One of my favorite food guinea pig is one of our closest friends The Notorious Mr X.


Every year without fail, he seems to receive a box of Harry and David Pears. Sometimes he's in Kerala when they arrive, sending us photos while the pears moulder on his doorstep.


This year he was at home, and so he delivered a box of lovely pears to me with a request that I whip something up with them.


   The pears arrived just in time for a movie night at our house. Several of the guests are gluten intolerant and so I wanted to use them to make a holiday dessert. I wanted something gluten free but I didn't want to use one of my recipes. I was looking for something I'd never made before. So of course I went googling to USA Pears which is sort of the mother of all pear websites. I discovered that December is national Pear Month (who knew). I also discovered this amazing Gluten Free Pear and Almond Cake recipe courtesy of Carol Kicinski of Simply Gluten Free.
 One look at this, and I couldn't resist. I seemed to be the perfect dessert for our after the movie chai, and boy was it. It was also very simple to prepare which is a must for a weeknight. All you need are 4 pears and you're good to go.
 

Gluten Free Pear and Almond Cake


Here's What You Need:
4 pears. Ripe, but not too ripe. Keep things on the firm side.
1 and 3/4 cup of sugar plus 2 tsp of sugar
1 Tbs lemon juice
3 and 1/4 cups Almond meal (almond flour)
8 eggs, at room temperature
1 and 1/4 tsp vanilla extract
1 Tbs honey
1 Tbs neutral flavored oil, (grapeseed, canola)
1/2 cup sliced almonds

Here's What To Do:
Preheat the oven to 350 degrees. Place a baking rack in the dead center of the oven
Lightly grease a 9 or 10 inch springform pan.


Place a circle of parchment paper in the bottom of the pan.
Lightly grease the parchment paper also.
In a food processor or stand mixer, mix together 3 and 1/4 cup of almond meal 1 and 3/4 cup of sugar.


Blend the almond meal and the sugar together lightly using your paddle attachment.
Set it aside.
Peel and core the pears.
Take 3 of the pears and chunk them up roughly. Set the fourth pear aside.
Take the chunked up pears and put them in a small saucepan. Add in 2 Tsp of sugar.


And 1 Tbs of lemon juice.


Cover the pan of pears and cook them at medium heat for about 10 minutes or until they are soft.
Mash the pears to a coarse puree and set them aside to cool a bit.
Meanwhile, back at the sugar almond meal mixture in your food processor or stand mixer....
Add in the eggs one at a time.


Blend each of the eggs in well.


Once the pears have cooled enough, add the pear puree to the eggs and flour and sugar.


Add in 1 tsp of vanilla extract.


When all the batter is mixed together, pour it into the prepared spring form pan.


Set it aside.
Take the fourth pear and slice it into 1/4 inch wide pieces.
In a small skillet heat the oil and the honey.
When they're warm and blended together add in the sliced pears.


Turn the pears over a few times in the honey oil mixture to coat them.
Take the pan off the heat and stir in 1/2 tsp of vanilla.
Make sure the pears are well coated.
Sprinkle the 1/2 cup of sliced almonds over the top of the cake.


Arrange the warmed pear slices in a pinwheel shape on top of the cake.


Drizzle the juices in the bottom of the skillet over the top of the cake and the  pear slices.


Pop the cake on a rack placed in the middle of the oven. Bake for 55 to 65 minutes (depending on your oven).
Check your cake after 35 minutes and if you find it's getting too brown on top. You can put a bit of foil over it. I didn't need to do this.
When a toothpick is inserted in the center of the cake and comes out clean, it's done.


Put the cake pan on a cooling rack and let the cake rest for about 30 minutes in the spring form pan. After that you can remove the sides of the pan and put the cake on a serving plate.
You can remove the parchment paper before serving just in case some guest might get carried away. After all we're not goats.
Cut it up and enjoy.

gluten free cake

   There it is, a cake that every gluten free guest can enjoy, and any non celiacs will never miss the gluten. It's definitely going into my permanent file.

   Coming up next, I'm cooking Christmas dinner and going old school Italian. Follow along on Twitter @kathygori

LinkWithin

Blog Widget by LinkWithin