

One thing that's happened on more than one occasion is making separate breads for the gluten free, which has lead to a rather unexpected problem. The problem, was keeping the non-celiacs away from this gluten free Gujarati bread. Gujarati cuisine is one the greatest of the Indian vegetarian kitchens, and whenever I cook for my vegetarian or celiac friends, it's usually where I start.
A lot of gluten free baked goods use garbanzo bean flour aka besan flour, and it's never put to better use than making Khaman Dhokla. The batter is mixed up quickly, kept in a relatively warm draft-free spot overnight, and then steamed for 20 minutes. It may look complicated, but it's pretty easy.
Here's What You'll Need:
1 and 1/2 cups of sifted garbanzo flour (aka besan)
2 serrano chilies, seeded and finely chopped
1 and 1/2 Tbs finely chopped fresh ginger
1/4 tsp fresh ground black pepper
1/4 tsp turmeric
3/4 tsp salt
1 tsp jaggery or brown sugar
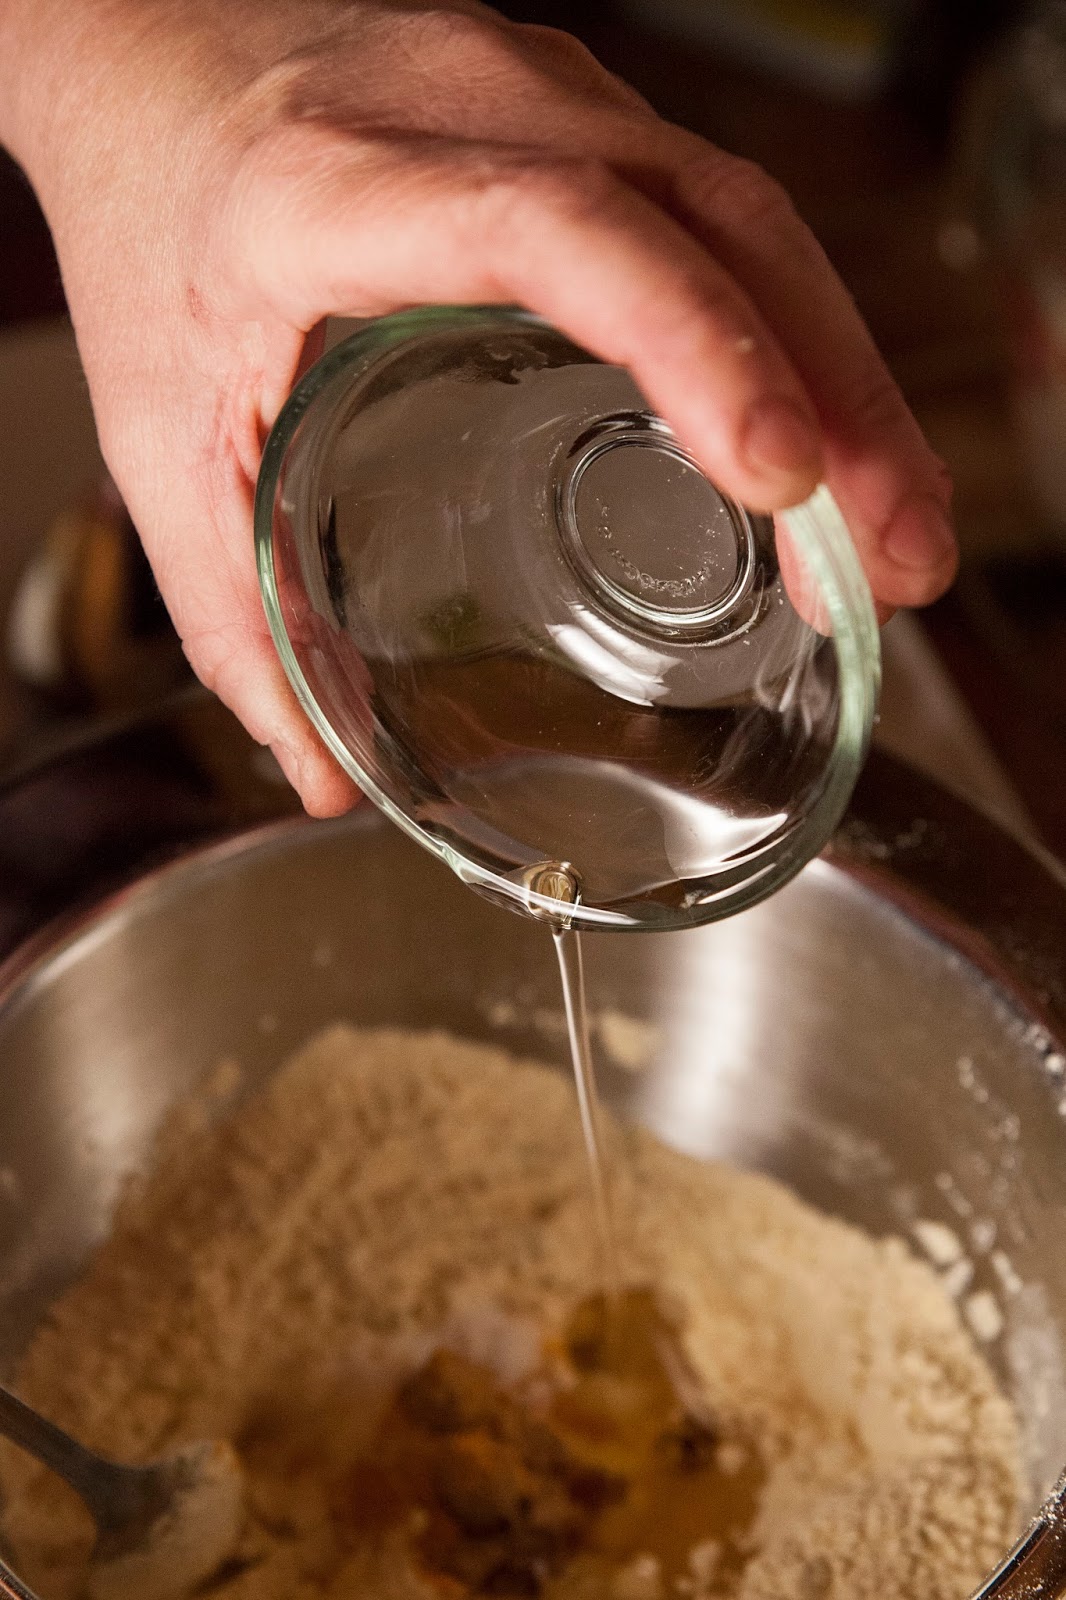
3 Tbs of vegetable oil
2/3 cup of plain yogurt
1/2 tsp baking powder
1/2 tsp baking soda
3 Tbs warm water
1/3 cup fresh or dried grated unsweetened coconut. (If you use dried coconut mix it with a dab of water to moisten it)
3 Tbs of chopped fresh cilantro
1/2 Tbs black mustard seeds
1/4 cup unsalted butter
Here's What To Do:
Seed and slice the serrano chilies.

(I do this just in case I'm going to be serving this to people who might be concerned about heat. If you like the spicy, forget it and just toss in the whole serrano chilies.)

Finely chop them mixed with the fresh ginger.
Add the chilies and ginger to the garbanzo flour.


Mix in the 3 Tbs of vegetable oil.
Blend in the yogurt.

Mix everything together well.

You should have a smooth rather thick batter.
Cover the bowl with a towel.

Make sure it's wrapped. You want to keep the contents warm.

I usually tuck the wrapped bowl in an unheated oven for at least 4 hours or overnight so that it can ferment.
If you're draft free locale is your oven, make sure everybody in the house knows that something is fermenting in there, and make sure no one turns the oven on, otherwise trouble ensues!
When the batter has fermented it's time to do the steaming. This is the 20 minute process.
Take a large deep pot.
Put a trivet in the bottom .
Fill it with about an inch or so of water.
This is the little platform that will hold the cake pan for steaming. You can also use a wok or any sort of steamer that will hold the cake pan.
Lightly grease an 8 inch cake pan.
I make thin little straps of folded tin foil and loop them under the bottom of the pan to make it easier to lower it into the pot.

Like this.
Now you're all set to steam the bread.
Bring the water in the pot to a low boil so that it starts to steam.
Sprinkle 1/2 tsp baking powder and 1/2 tsp baking soda into the fermented batter.

Mix it in while stirring in 1 Direction only.
Add in the 3 Tbs of warm water.

Add in the 3 tbs of warm water, once again stirring in 1 Direction only!
Just remember. What makes your bread beautiful...1 Direction.
The batter will start to bubble and froth.

Pour the batter into the greased pan.

Lower the pan into the steaming pot.

Cover the pot snugly with a towel.

Put a lid on the pot.

Wrap the sides of the towel around the top of the pot.
Steam the bread for about 12 minutes.
You can make sure it's done by taking the lid off and testing the bread with a toothpick. If the toothpick comes out clean, it's done.
Take the bread out of the pot.

Set the pan aside with the towel set over it loosely. Keep it covered for about 10 minutes to rest.
After 10 minutes, turn the bread out on to a plate.

Put the plate onto the top of the cake pan and turn it upside down. It will unmold.

Cut the the bread into criss-cross diamond shapes.

In a small skillet, heat 1/4 cup unsalted butter.
When the butter is hot, toss in 1 and 1/2 Tbs of mustard seeds.

When the mustard seeds start to sizzle and pop...
Pour it over the top of the cut Dhokla.

Scatter the top with the grated coconut.

Sprinkle on the chopped fresh cilantro.

Cut and stack the pieces.


+copy.jpg)


